How to Set Perfect Wall Thickness for 3D Printing?

Discover the essential wall thickness settings for various materials to ensure smooth 3D printed creations.
Introduction
Wall thickness is an important factor in deciding the strength, weight, and overall quality of the printed object. How thick your walls should be depends on what you want the part to do, what material you’re using, and how it’s being printed.
This guide examines key considerations for establishing the wall thickness that suits your needs.
What is Wall Thickness?
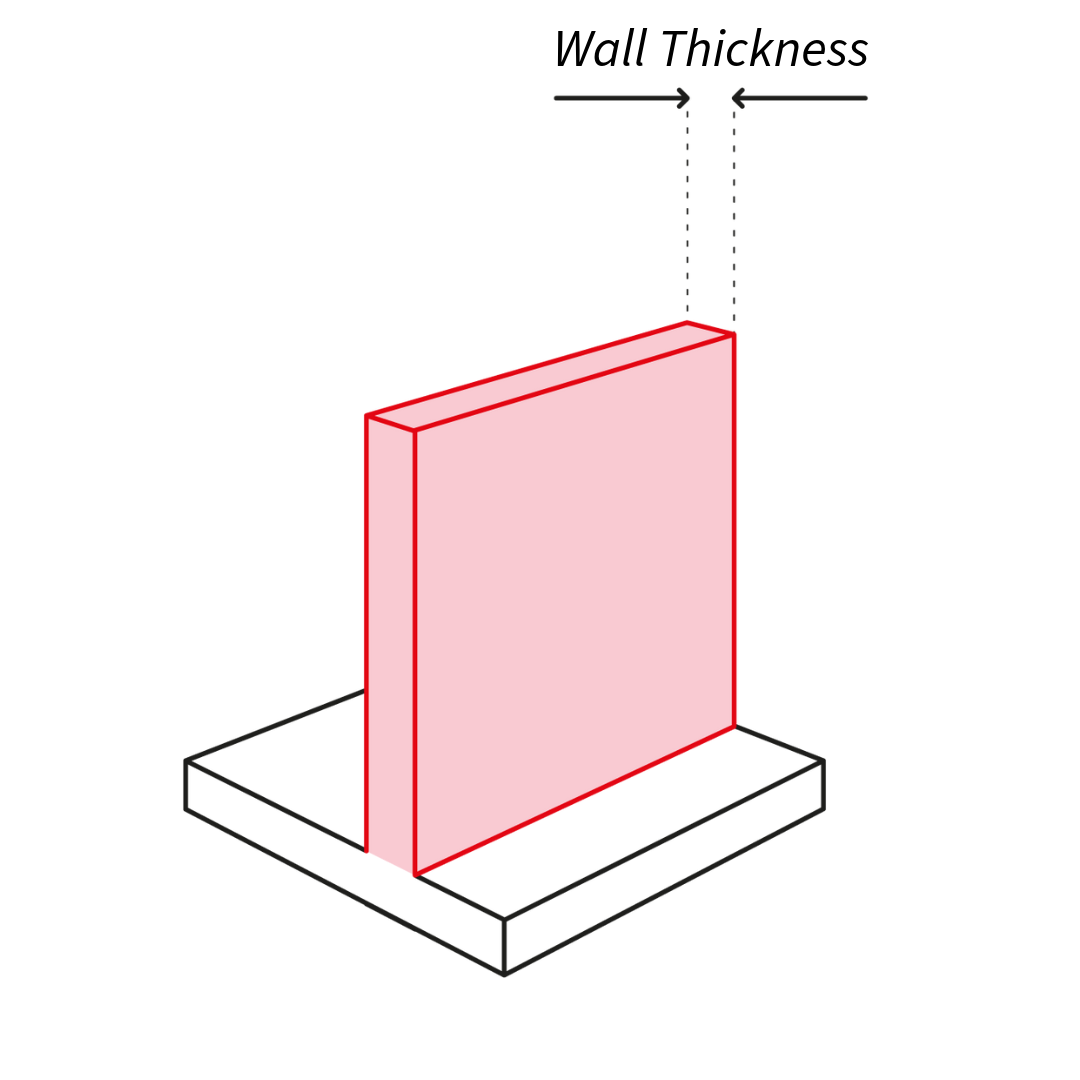
Wall thickness in 3D printing is essentially the distance between the inner and outer surfaces of a printed object.
Resolution and minimum wall thickness are often misunderstood in 3D printing. While they are related, they serve distinct purposes.
Resolution refers to the level of detail and precision that can be achieved in a 3D model. It determines how smooth the curvature is and how well the surface finish turns out.
Minimum wall thickness, on the other hand, is the thinnest shell that can be printed without collapsing under its own weight. A higher resolution might allow for thinner walls, but the material and the printer still limit how thin they can get.

Why is Wall Thickness Important?
There are several important reasons why wall thickness is important for 3D printing:
Strength
Structural Integrity: Thick enough walls make sure your 3D print is strong enough to hold up under pressure, like bending or twisting. Thinner walls are more susceptible to deformation or failure, especially when subjected to stress.
Weight Distribution: The right wall thickness helps spread out the weight of your 3D print so it doesn’t break in one spot.
Quality
Dimensional Accuracy: How thick the walls are affects how accurate the size and shape of the 3D print will be. If the walls are too thin, the print might bend or warp, which will make it look bad.
Surface Finish: A well-defined wall thickness contributes to a smoother and more consistent surface finish. Thin walls can result in visible layer lines or other imperfections, affecting the aesthetics of the printed part.
Cost
Material Usage: Thicker walls require more filament material, increasing the overall cost of the print. However, excessively thin walls can lead to defects or failures, necessitating reprints and wasting resources.
Printing Time: Thick walls take longer to print because they use more material and need to be printed slower to stick together properly.
Design Fidelity
Detail Preservation: Adequate wall thickness is essential for keeping the tiny details in the printed object. Thin walls can cause these details to be lost or distorted.
Geometry Accuracy: The right wall thickness keeps your 3D design looking how it’s supposed to. Walls that are too thick can hide or change the design, and walls that are too thin can make things the wrong size.
Minimum Wall Thickness
There are limits to how thin you can make the inside parts of a 3D print before it becomes too weak. Here’s a chart with the minimum thicknesses we suggest for different materials and printing methods.
Technology | Material | Minimum Wall Thickness (mm) |
|---|---|---|
0.8-1.0 | ||
High Detail Resin | 0.5-1.0 | |
Tough Resin | 1.0-1.5 | |
PLA | 1.0-1.5 | |
ABS | 1.5-2.0 | |
PETG | 1.2-2.0 | |
SLM | Stainless Steel | 0.5-1.0 |
Titanium Alloy | 0.6-1.0 | |
SLM | Aluminum Alloy | 0.8-1.2 |
SLS | Nylon | 0.8-1.0 |
PA12 | 0.8-1.0 | |
Aluminum Powder | 1.2 | |
Binder Jetting | Stainless Steel | 0.5-1.0 |
Aluminum | 0.5-1.0 | |
Binder Jetting | Titanium/Tool Steel | 0.75-1.25 |
Please note: Sure, there are always exceptions to the rule! Sometimes, parts can be printed with thinner walls than we recommend. But because there are so many things that can affect whether a thin part prints well, so we can only guarantee successful prints for designs that are at least as thick as our recommended minimum.
General Guidelines
Most Materials: A minimum wall thickness of 2-3 times the layer height is often recommended as a starting point.
Flexible Materials: Thicker walls may be necessary to prevent warping or deformation.
Strong, Rigid Materials: Thinner walls can be used, but consider the part's specific requirements.

Considerations for Successful 3D Printing
There are a few common concerns every designer needs to be aware of when preparing a model for 3D printing. Understanding these limitations will help you avoid having to reprint your models.
Loss of Details When Scaling
Wall thickness issues often arise from a disconnect between modeling and printing processes. Models may appear structurally sound in CAD software but fail in the real world. Architectural details, like awnings, can become impossibly thin when scaling buildings down to tabletop models.
Warping
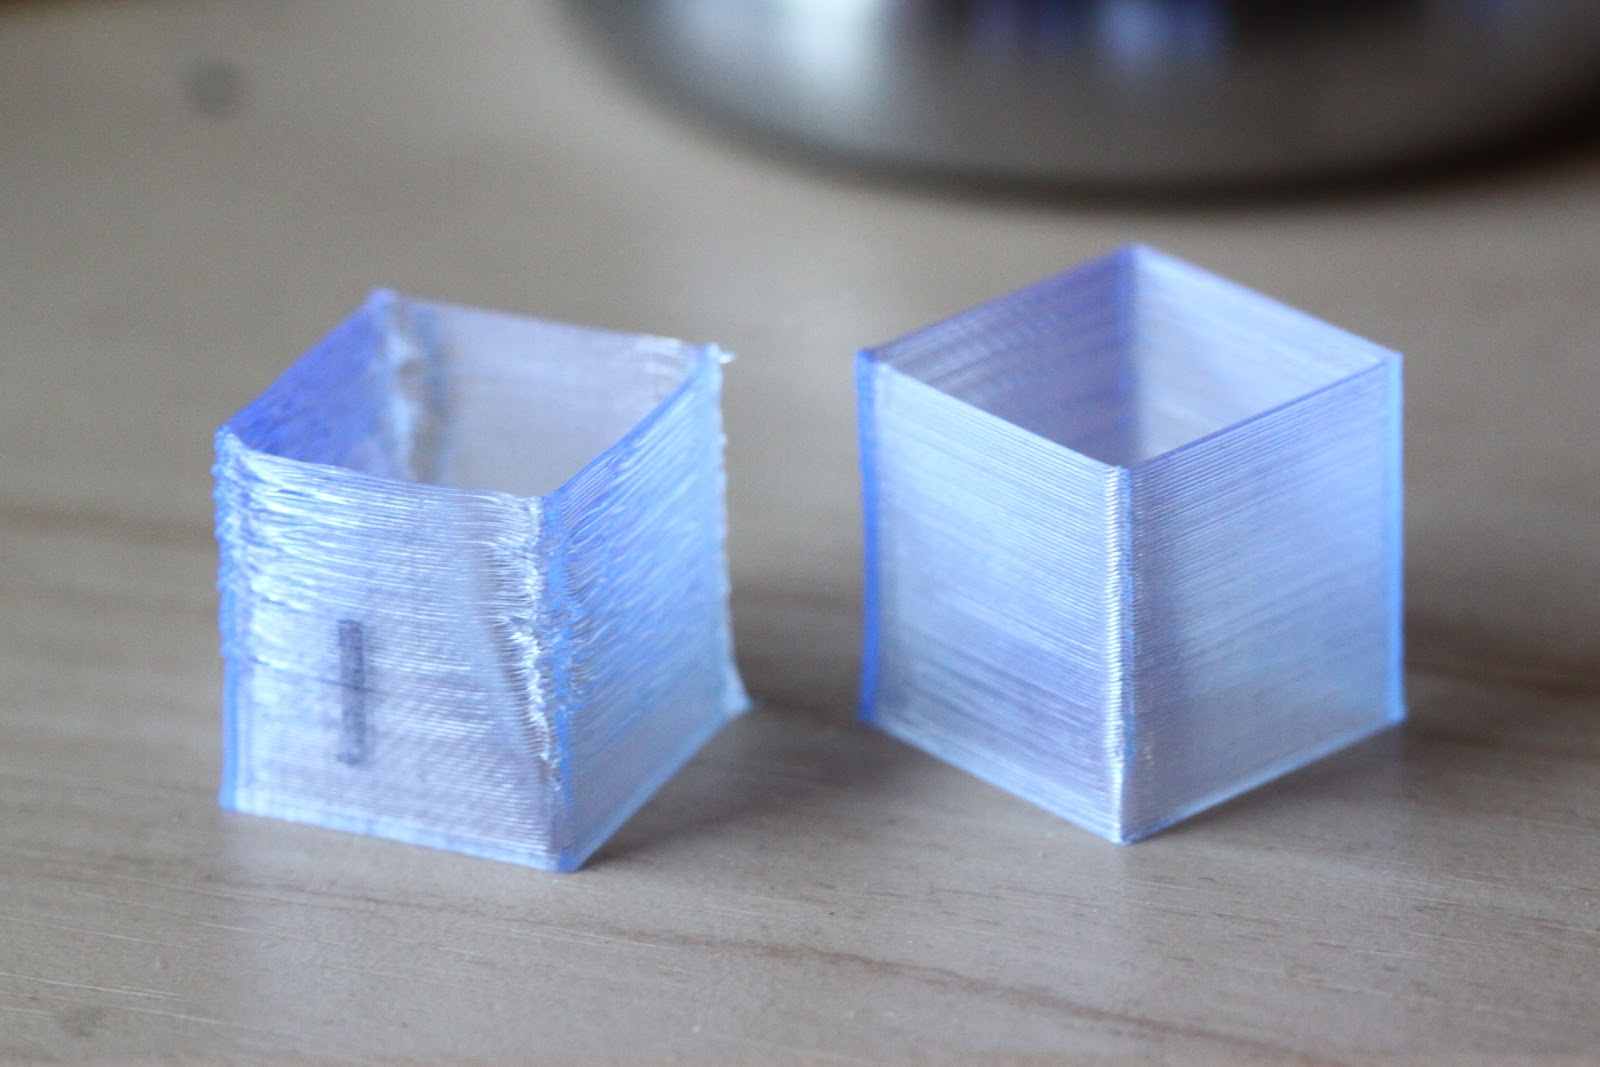
Thin walls risk warping or cracking during or after printing. Each printed layer needs sufficient contact with the previous layer. Insufficient contact can lead to sagging, bowing, or disconnected parts. Even non-functional figurines with thin walls can creep or crack after detachment from support structures.

Source: 3dprinting.com
Curling
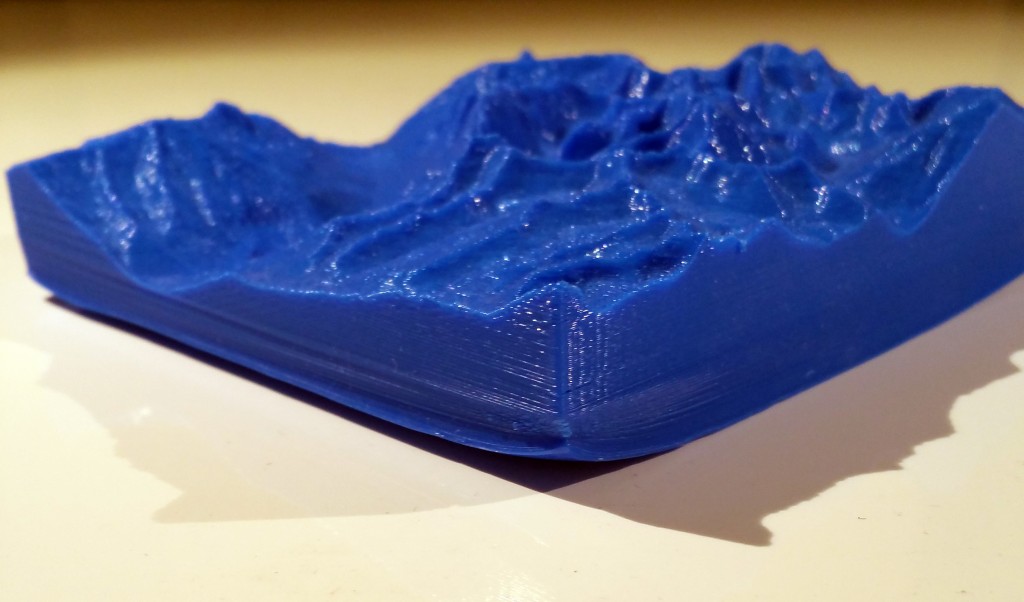
In processes like FDM and SLS, corners are especially prone to curling. Depending on the shape, contour, and wall thickness, certain areas cool faster than others. This can result in corners curling due to drastic temperature changes.

Source: 3dprinting.com
How to Set the Perfect Wall Thickness?
Now that you have gained an understanding of shell thickness settings, it is time to configure the wall thickness:
Consider the part design, material, and model scale. The geometry, features, loads it will experience and size all factor in. More intricate designs or larger parts may require thicker walls. Materials vary in rigidity too - flexible/strong materials have different needs.
Refer to the material supplier's recommended thickness ranges. Manufacturers test their own materials and provide guidelines tailored to each. Starting within these ranges helps ensure structural integrity.
Leverage the slicing software's comprehensive thickness settings. These let you efficiently iterate on different values, generating test prints fast. Carefully select numbers to balance needs like strength versus use of material.
Conduct test prints to properly evaluate results. Inspect for flaws, brittleness, dimensional accuracy and fine details. Prints at the limits can show where further thickness optimization is still required.
Adjust thickness parameters as needed based on outputs from the test coupons. Refine the setting until consistently achieving high-quality parts that perform as designed in real world scenarios. Continued testing refines the optimal wall thickness for each application.
Determining the right wall thickness involves factoring multiple variables through a process of trial and refinement.
Conclusion
This article provided guidance on determining optimal wall thickness for 3D prints. By trying different wall thicknesses and considering how strong, smooth, efficient, and precise the prints are, you can find the best thickness. Guidelines exist but thickness depends on the specific application.
Following the advice from experts and carefully checking your test prints, which will help you set the right thickness, will make it easier to produce strong, cheap parts that do what you want.
Unionfab: Master the Art of 3D Printing Wall Thickness
Achieve the perfect balance between strength and detail with Unionfab's expert 3D printing. Our precision technology ensures optimal wall thickness for every project, from sturdy prototypes to intricate designs.
Contact us to experience the difference of Unionfab's craftsmanship and bring your ideas to life.
FAQs
What is the ideal wall thickness for 3D printing?
The ideal wall thickness depends on the material and the purpose of the printed object. Generally, a minimum of 1.2 mm is recommended for most prints, but parts requiring extra durability or strength may need a wall thickness of 2-3 mm.
How does wall thickness affect print quality?
Thicker walls provide more structural integrity, making the print stronger and less prone to warping. However, if the walls are too thick, they can lead to longer print times, excessive material use, and issues like overheating during the printing process.
Can I adjust wall thickness based on different parts of the object?
Yes, you can adjust wall thickness for different sections of your object. For example, areas requiring more strength or support can have thicker walls, while less critical areas can have thinner walls to reduce material usage and print time. Many slicing software tools allow for such customizations.

