How to Remove Supports from 3D Print [+ Expert Tips ]
![How to Remove Supports from 3D Print [+ Expert Tips ]](https://ufc-dtc-cms.oss-accelerate.aliyuncs.com/blog/20250508/160317_n0tqrobn0.png)
Learn how to remove supports from 3D prints cleanly and efficiently. Discover expert tools, techniques, and how Unionfab helps reduce support needs through smarter design and optimized printing.What Are 3D Printing Supports?
Common Types of Supports
Breakaway Supports: These are rigid support structures printed from the same material as the main part. They are designed to snap off manually after printing. Breakaway supports are common in FDM and resin printing. They are cost-effective and easy to implement but may leave surface marks or require sanding. Proper placement and spacing are essential to prevent part damage.

Breakaway Supports
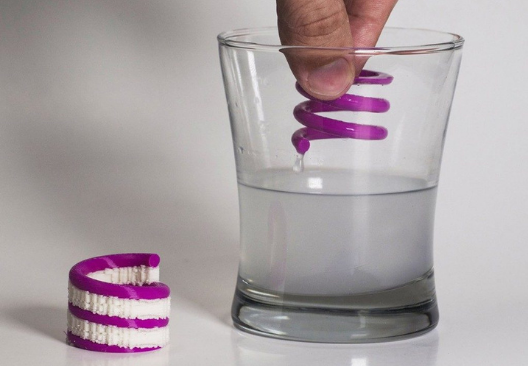
Source: fabbaloo.comSoluble Supports: Made from materials like PVA (for PLA) or HIPS (for ABS), soluble supports dissolve in specific liquids (water or limonene). This method is ideal for complex geometries or internal cavities where manual removal would be difficult or damaging. Soluble supports typically require dual-extruder printers and controlled environments for effective dissolution.

Soluble Supports
Source: 3dnatives.comTree Supports: These are organic, branching structures that connect to the model only at key contact points. Commonly used in FDM printing with slicers like Cura, tree supports save material and are easier to remove than grid types. They are particularly effective for figurines or models with delicate overhangs, reducing scarring on the surface.

Tree Supports
Source: fiverr.comGrid Supports: Grid supports are a standard, lattice-style structure often used in SLA or DLP resin printing. They offer strong mechanical stability during the print but can be harder to remove cleanly. Grid supports are best for parts with flat undersides and where tight tolerances are needed. Cutting and sanding are often necessary after removal to smooth surfaces.

Grid Supports
Source: all3dp.com
Tools and Methods to Remove Supports
Depending on the printing process and material used, support removal can be mechanical or chemical. Each approach has its tools, risks, and best practices.
Mechanical Removal

Source: amreference.com
For FDM/FFF prints (PLA, ABS, PETG): Use needle-nose pliers to gently pull supports from large, open areas. Flush cutters or side snips help in tight corners or thin structures. A palette knife or hobby blade can be used to pry or separate supports at the base. After removal, smooth the surface using a file or sandpaper (start from 200–400 grit, then move to finer grits for a polished finish). For precise edges, deburring tools help maintain geometry. Always work slowly to avoid damaging delicate areas.
For SLA/DLP prints (resin): Remove supports after rinsing the part in isopropyl alcohol (IPA) to avoid resin smearing. Use side cutters to snip close to the model surface. After trimming, sand gently with fine-grit sandpaper (800–1200). Avoid over-curing before support removal, as resin becomes brittle and more prone to cracking. Post-cure under UV light only after supports are removed and surfaces are smoothed.
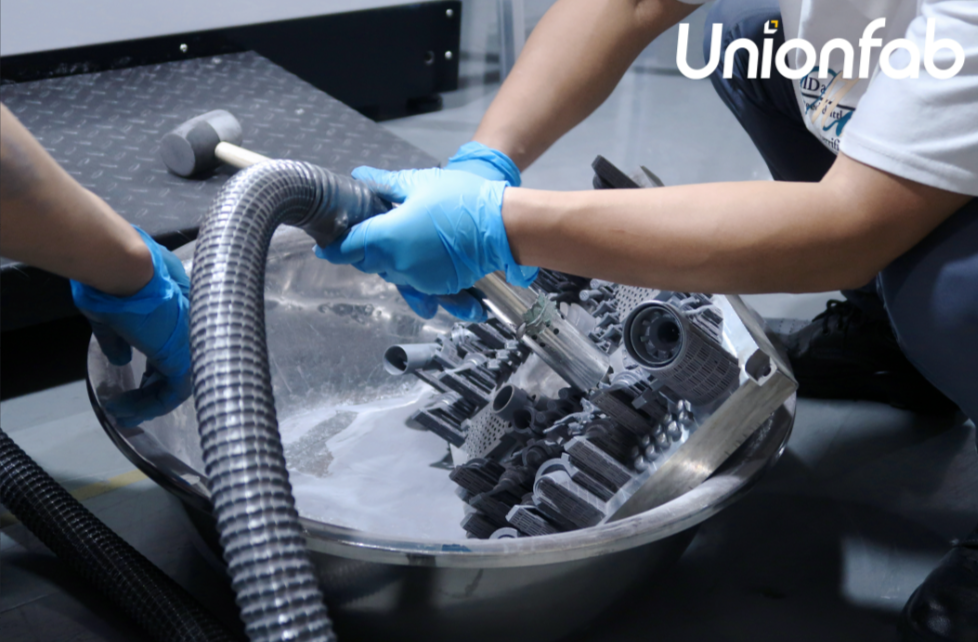
For SLS or MJF: These technologies use powder as natural support, so post-processing focuses on powder removal using air blasting, brushing, or ultrasonic cleaning. No manual support detachment is required.
Soluble Removal

Source: additive-x.com
PVA (used with PLA): Submerge the part in warm water (35–45°C) for 4–8 hours depending on support thickness. Agitate water occasionally or use a heated ultrasonic cleaner for faster results.
HIPS (used with ABS): Use limonene solution in a closed container. Allow parts to soak for 6–12 hours. Always wear gloves and ensure good ventilation.
Tips: Use separate containers for each material. Stir gently to avoid warping. After removal, rinse parts with clean water and allow to dry fully before further processing.
Common Challenges During Support Removal
Surface Scars: These occur when support structures are too closely bonded to the model. During removal, material can tear off or leave rough patches. Use sanding tools, polishing compounds, or a heat gun to restore a smooth finish. In SLA prints, support touchpoints should be minimized in the slicer to reduce scar size.

Surface Scars
Surface scars occur when support structures are too closely bonded to the model, leading to material tearing or rough patches upon removal.
Source: 3dprinting.stackexchange.comDamage to Thin Walls: Thin or delicate model features are prone to cracking or snapping during manual removal. To avoid this, use smaller, more precise tools and remove supports in incremental steps. Re-orienting the model during slicing to avoid support on fragile zones is highly recommended.

Damage to Thin Walls
Thin or delicate model features are prone to cracking or snapping during manual support removal.
Source: makepartsfast.comResidue Left Behind: After removal, especially with soluble supports or resin prints, sticky residue or fine debris can remain. Use isopropyl alcohol, ultrasonic cleaning, or warm water baths (for PVA) to ensure a clean surface. Proper post-cleaning also helps with better surface adhesion if additional processing like painting is required.

Residue Left Behind
After support removal, especially with soluble supports or resin prints, sticky residue or fine debris can remain.
Source: 3drific.comOver-Curing or Brittle Supports: In resin printing, over-curing a part before support removal can cause cracking or chipping. Supports should be removed while the resin is still slightly flexible — post-cure only after cleaning and sanding.

Over-Curing or Brittle Support
In resin printing, over-curing a part before support removal can cause cracking or chipping.
Source: reddit.comTime Consumption: Manual removal can be labor-intensive for large batches or complex geometries. In these cases, designing with support minimization in mind or using soluble supports can reduce labor.Avoiding these issues often depends on proper support placement, model orientation, and selecting the right support settings in your slicer. Collaborating with experienced print services like Unionfab can help optimize these variables before you even start printing.
How to Reduce the Need for Supports
An optimized model can minimize or even eliminate the need for support structures, reducing material waste and saving time in post-processing.
Tips to Reduce Supports
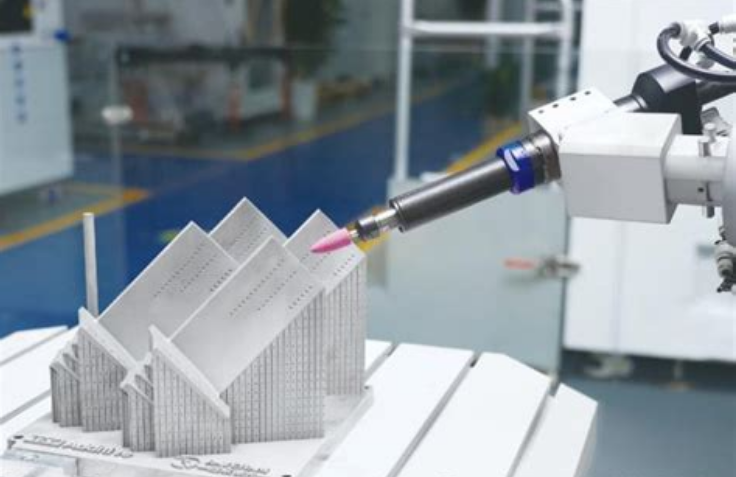
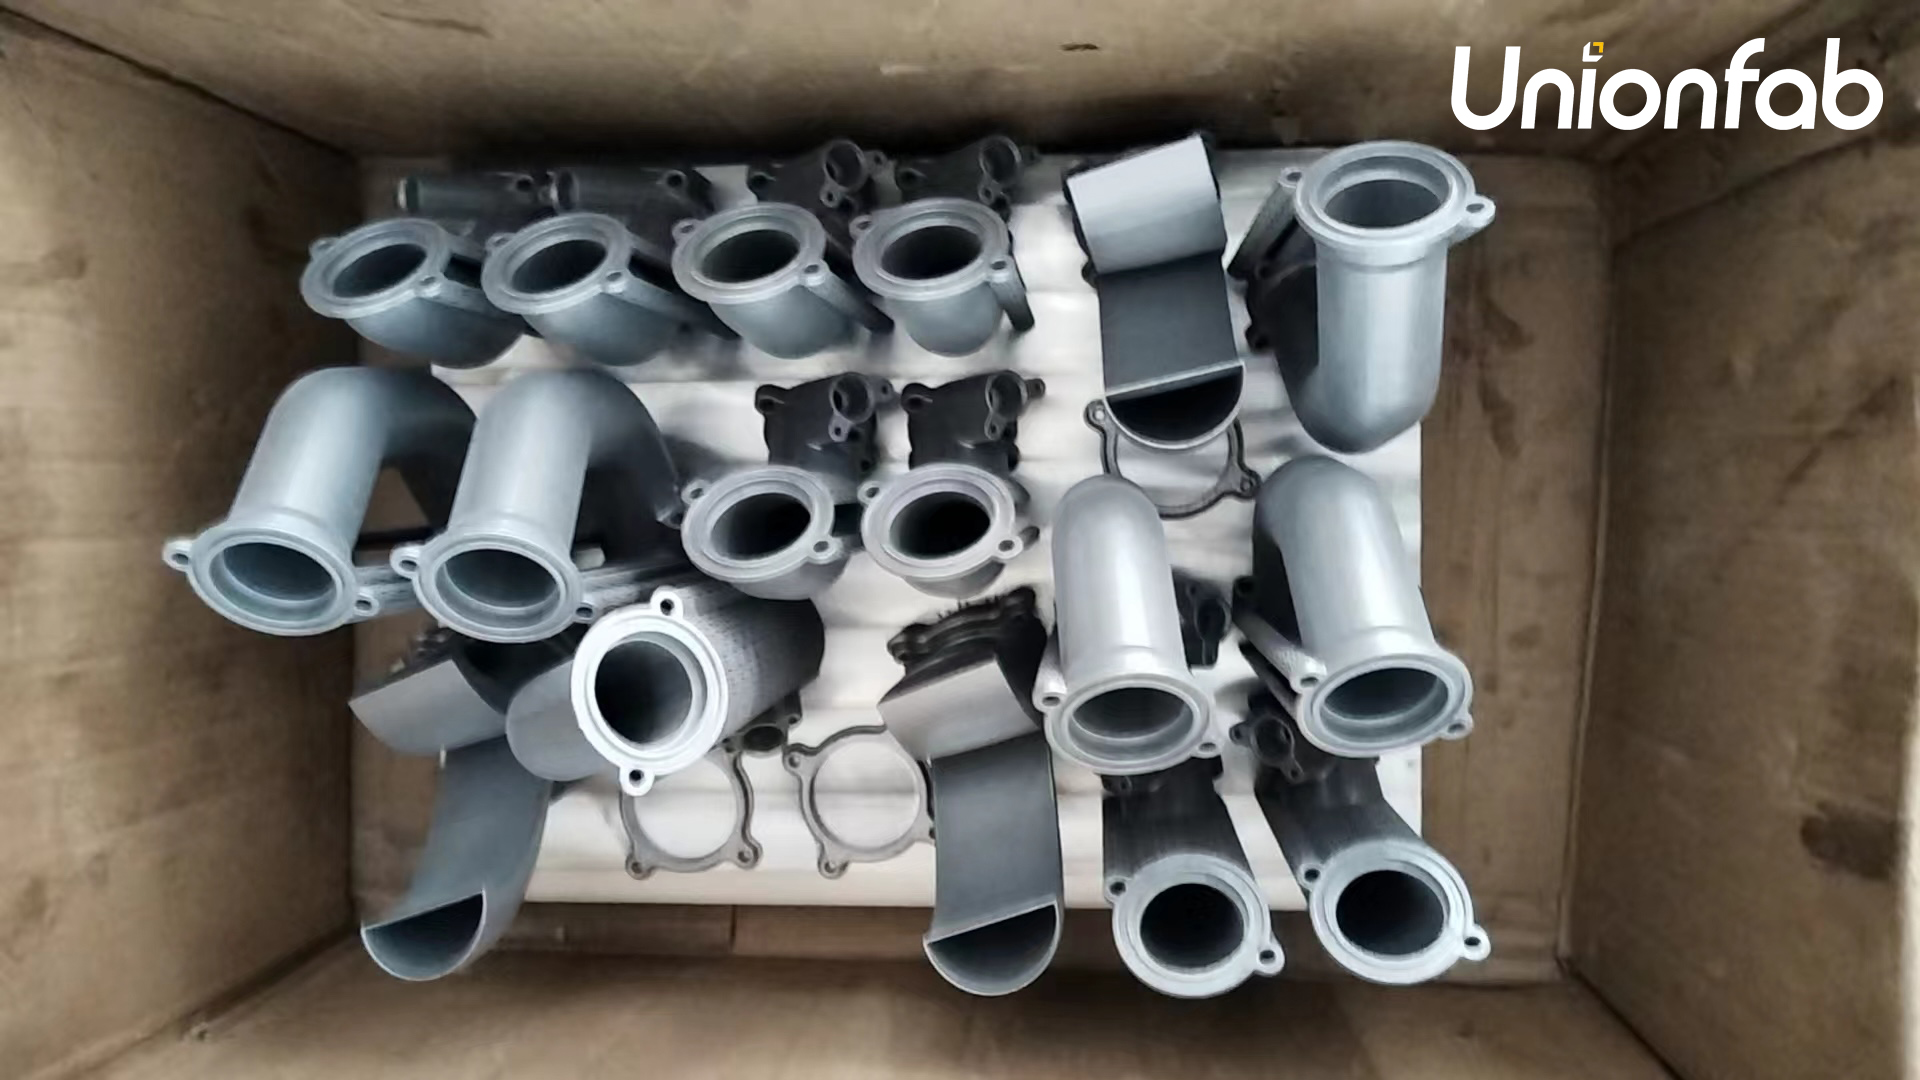
At Unionfab, we not only help clients optimize model orientation to reduce the need for supports — we also offer full-spectrum post-processing services, including professional support removal. Our team uses precise tools, experienced handling, and specialized finishing techniques to deliver clean, production-ready results with minimal surface defects.

Source: Unionfab

Source: Unionfab
Reorient the Model: Tilt or rotate the model to reduce overhangs.
Adjust Support Settings:
Increase overhang threshold.
Lower support density.
Use support blockers or custom supports.
Choose the Right Material: PLA is easier to post-process than ABS or nylon.
Split the Model into Parts: Complex designs can be separated and assembled post-printing.At Unionfab, we help clients analyze their models before printing to optimize orientation and reduce unnecessary supports — especially important for industrial-grade or customer-facing parts.
Support Removal by Technology
Here’s a quick overview of what support removal looks like across common 3D printing methods:
Technology | Support Type | Removal Method |
|---|---|---|
FDM/FFF | Breakaway, Soluble | Manual, Water |
SLA/DLP | Breakaway | Cut + Sand |
SLS/MJF | Not required | N/A |
PolyJet | Soluble (SUP706) | Chemical Bath |
DMLS/SLM | Breakaway (metal) | Cutting + CNC post-processing |
When to Consider a Professional Service
If you’re producing functional prototypes or end-use parts, the quality of support removal can directly affect performance and appearance. Instead of spending hours on manual finishing, working with a professional provider like Unionfab helps you save time and achieve superior results.
We use optimized support generation, advanced materials, and precision post-processing tools to deliver clean, functional, and production-ready parts — no rough edges or scarring.
Optimize Your 3D Print Workflow with Unionfab
At Unionfab, we don’t just print — we help you print smarter.Whether you’re looking for a smoother finish, reduced post-processing time, or expert guidance on support settings, we offer:
Material and orientation consulting
Soluble support removal solutions
Precision CNC post-processing (especially for metal prints)
Let us help you reduce effort and improve quality → Talk to a Unionfab Expert
Conclusion
Support removal is an essential part of the 3D printing process — one that directly impacts the quality of your final product. By understanding support types, using the right tools, and applying smart design strategies, you can improve results significantly. And when in doubt, Unionfab is here to help streamline your process with expertise and precision.


