3D Print Spaghetti [+Causes & Fixes]

Discover the causes of 3D print spaghetti and how to fix it with expert tips and practical solutions to boost success and reduce material waste.
What Is “3D Print Spaghetti”?
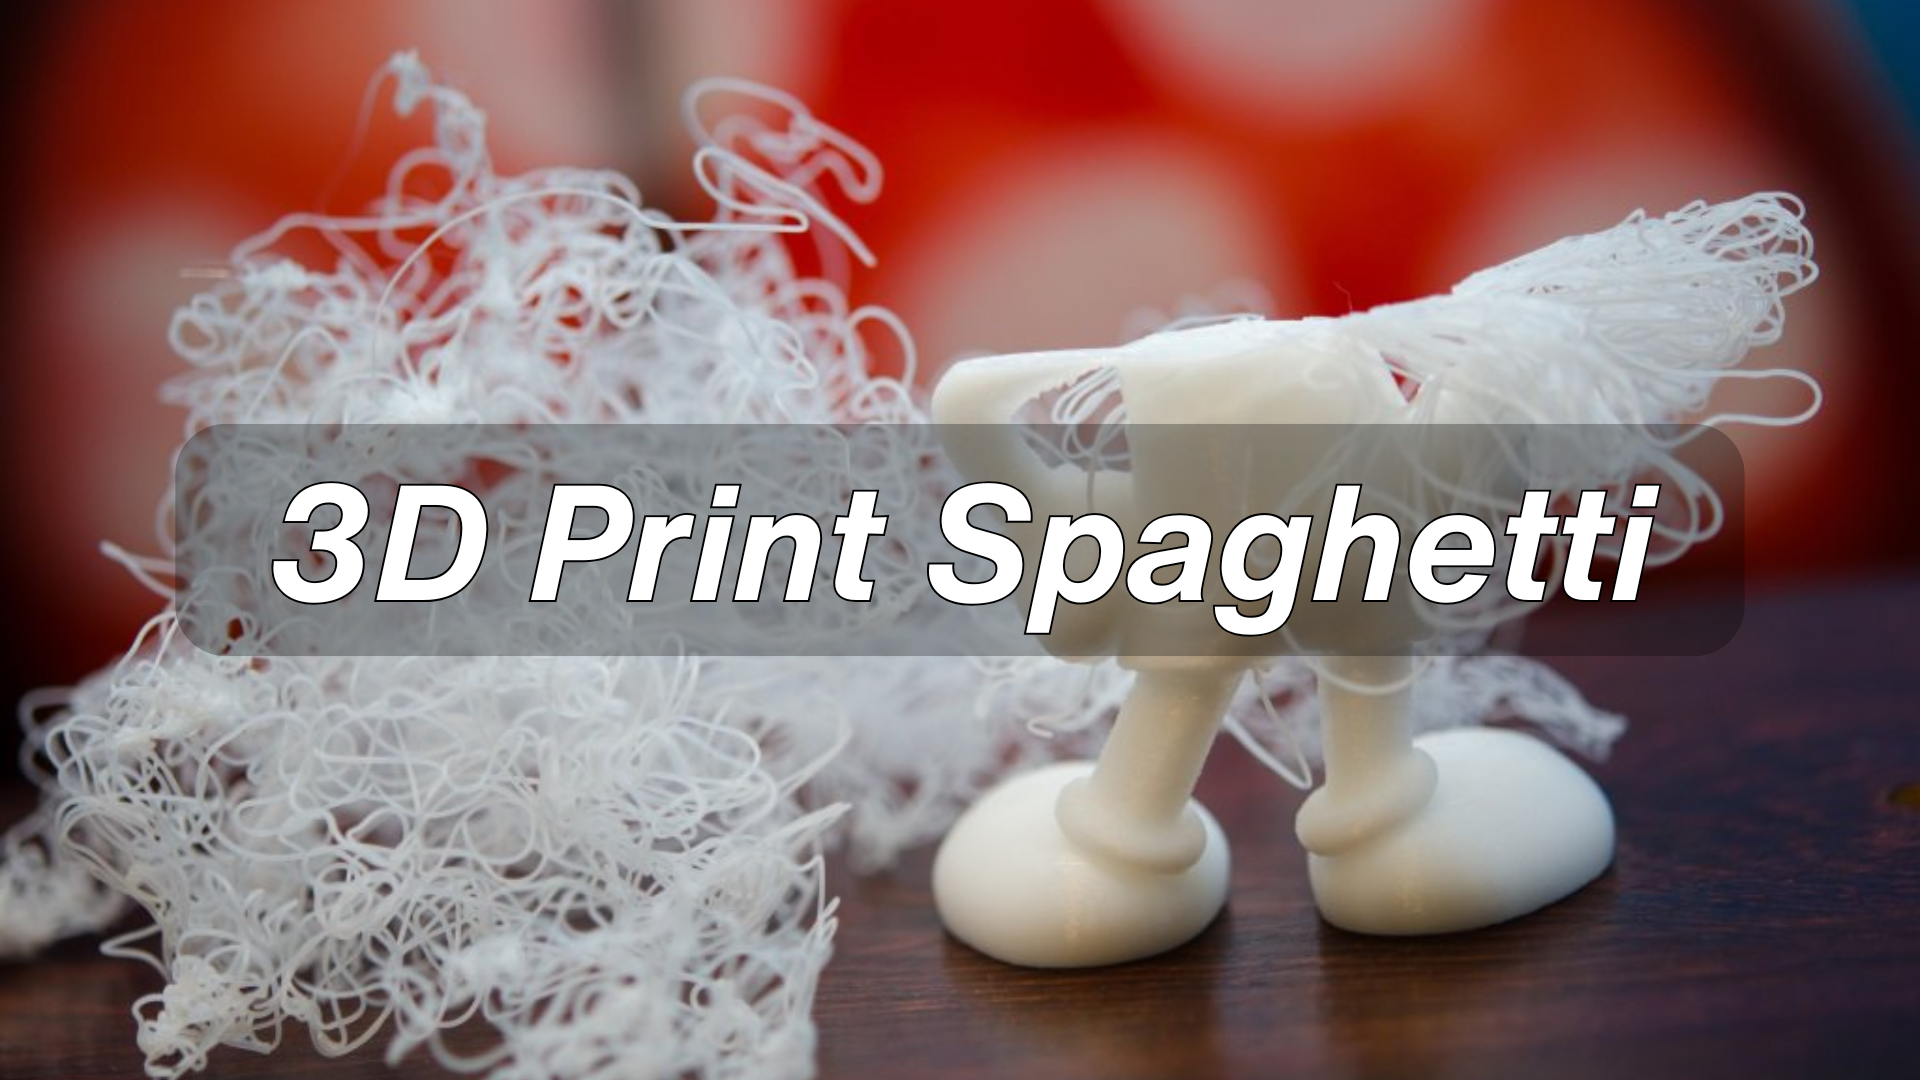
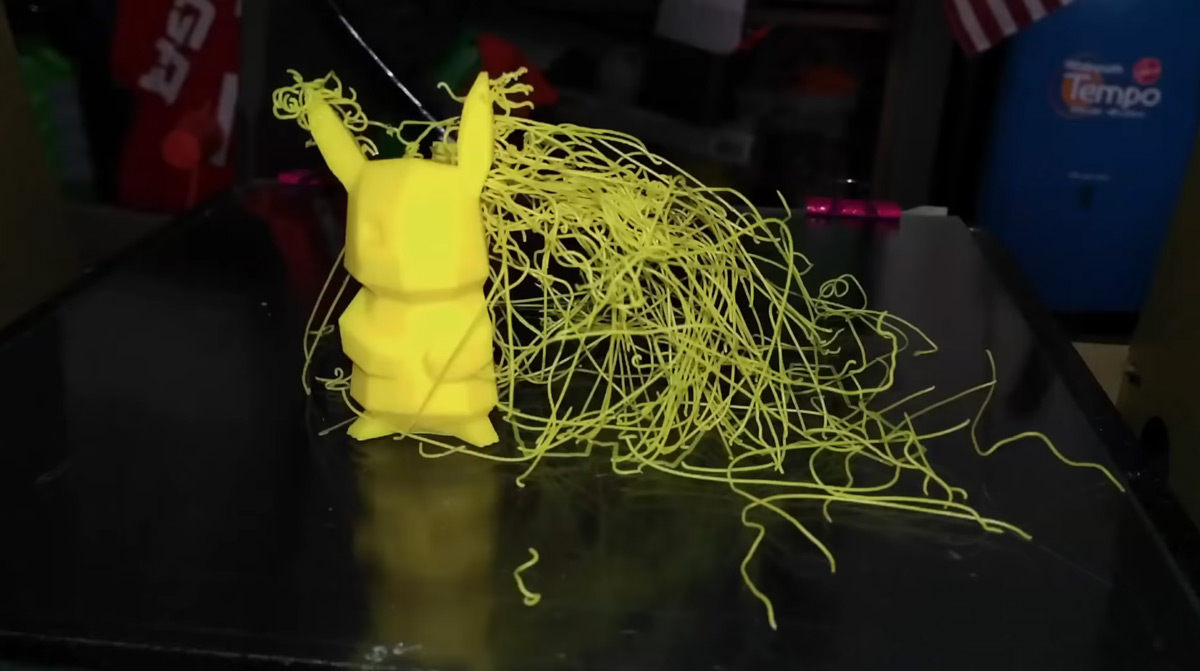
“3D print spaghetti” is a term often used by hobbyists and professionals alike to describe a printing mishap where filament is laid down in mid-air, creating a tangled, stringy mess that resembles a pile of spaghetti.
This usually occurs when a print fails partway through, and the nozzle continues extruding without a stable base beneath it. It’s one of the most frequent and frustrating issues in FDM 3D printing, particularly among users exploring new settings or experimenting with complex geometries.

Source: 3dwork.io
Why Does “3D Print Spaghetti” Happen?
Understanding the causes behind a failed print is crucial for prevention. "Spaghetti printing" is not a single-issue failure—it results from several interacting problems. Below is a more detailed breakdown of what can go wrong and why.
Cause | Description |
|---|---|
Z-axis too high | First layer doesn't adhere properly, causing early detachment |
Lack of support structures | Filament extrudes into air without a base, leading to unstable prints |
Poor bed adhesion | Surface contamination or unlevel bed prevents proper bonding |
Moist or low-quality filament | Causes under-extrusion and weak structural integrity |
Incorrect slicer settings | Unoptimized parameters result in unstable layers or missing supports |
Z-Axis Too High
When the nozzle is positioned too far from the build surface, the filament doesn't properly adhere to the print bed. This poor first-layer bonding leads to detachment during the initial stages, leaving the extruder to print into empty air. This is one of the most common and easily overlooked causes.
Lack of Support Structures
Overhangs and bridging sections require adequate support material. Without it, filament extrudes into unsupported space, curling and piling into a spaghetti-like mess. Models with steep angles or long bridges are especially vulnerable.
Poor Bed Adhesion
Dust, oils, or uneven bed surfaces reduce adhesion. As the print progresses, even a slight lift can cause layers to misalign, triggering cascading failure. Using the right surface preparation methods can dramatically reduce this risk.
Moist or Low-Quality Filament
Filament exposed to air absorbs moisture, which leads to bubbling, inconsistent extrusion, and weak layer bonding. Similarly, cheap or inconsistent filament diameter can clog the nozzle or under-extrude, destabilizing the structure mid-print.
Incorrect Slicer Settings
Slicer settings determine how your model is translated into print commands. If the layer height is too thick, speed too high, or retraction settings too aggressive, the nozzle may fail to deposit material properly. Even support settings can contribute if they don’t provide adequate reinforcement.
Step-by-Step Troubleshooting Guide
Addressing the root causes of spaghetti printing involves careful inspection and parameter adjustments. Here’s how to tackle the issue methodically.
Check Your Bed Level and First Layer
Always verify your bed is level before printing. Use manual paper testing or auto-bed leveling to maintain consistency across the platform. Ensure the nozzle sits about 0.1 mm from the bed—enough to squish the filament slightly for better grip.
Use Supports for Overhangs
Enable support structures in your slicer for models with angles exceeding 45 degrees. For maximum precision, consider customizing support placement to reinforce weak sections.
Improve Bed Adhesion
Clean the bed with isopropyl alcohol and apply adhesion aids when needed. A brim or raft can significantly improve grip for smaller or delicate prints. Also, consider using textured sheets or PEI surfaces for enhanced consistency.
Inspect Filament and Nozzle
Keep filament dry and sealed in storage containers with desiccant. If you notice popping sounds or steam during printing, dry the filament before reuse. Regularly check and clean your nozzle to avoid blockages and ensure smooth extrusion.
Fine-Tune Your Slicer Settings
Lower your print speed in tricky sections to increase print stability. Adjust the nozzle temperature within recommended ranges for your material. Enable Z-hop and proper retraction settings to minimize dragging and stringing between parts.
Need guidance on slicer profiles? Talk to our print specialists.
Expert Tips to Avoid Future Failures
Material Comparison: Which Filaments Are Most Prone to Spaghetti?
Different filaments behave differently during printing.
● PLA generally prints reliably and is less prone to warping, but it can still suffer from poor adhesion on improperly prepared surfaces.
● PETG offers stronger layer bonding but may cause stringing if retraction is not properly configured.
● ABS is more likely to warp and detach from the bed, increasing the risk of spaghetti printing.
When selecting materials, balance ease of use with your part’s performance needs.
Material | Tendency for Spaghetti | Notes |
|---|---|---|
PLA | Low | Good adhesion, low warping, easy for beginners |
PETG | Medium | Needs fine-tuned retraction, moderate warping |
ABS | High | Prone to warping, needs enclosure and strong bed adhesion |
Use Software Tools to Analyze Your Model
Before printing, use software like PrusaSlicer’s built-in error detection or Autodesk Meshmixer to check for unsupported overhangs, non-manifold edges, or slicing anomalies. These tools help catch model weaknesses that can lead to print failures before they cause wasted material.
Consider Remote Monitoring Solutions
For advanced users or anyone printing long-duration jobs, AI-based tools like The Spaghetti Detective (now Obico) can detect failures in real time via webcam.
If a failure is detected, the system can pause or stop the print automatically, preventing waste and potential equipment damage. This kind of automation adds a safety net—especially useful for remote or overnight printing.
A few advanced strategies can greatly improve your printing success. Use a consistent layer height like 0.2 mm for general prints. Preview your sliced file to catch unsupported features before starting. Enable fan cooling for bridges and narrow parts. If you use flexible or exotic materials, a direct-drive extruder setup can help maintain proper flow and reduce print variability.
How Unionfab Can Help You Print Right the First Time
Unionfab offers industrial-grade 3D printing solutions tailored to your needs. Our team delivers professional FDM and SLA prints with outstanding accuracy, surface quality, and reliability.
We offer a free model review to assess printability and provide expert recommendations based on your design. Submit your file today and discover how smooth the 3D printing process can be.
Submit your STL now and get an instant quote.

Final Thoughts
“3D print spaghetti” is one of the most visible signs of a failed print, but it’s far from unavoidable. With proper setup, parameter tuning, and knowledge of best practices, even beginner users can dramatically reduce the risk of this issue.
And when the stakes are high, Unionfab’s expert printing service is here to ensure your designs come to life—accurately, reliably, and without the mess.
FAQ: Common Questions About 3D Print Spaghetti
Q1: Can 3D print spaghetti damage my printer?
Not directly, but continued printing after failure may clog your nozzle or overheat your extruder. Always stop the print immediately when spaghetti is detected.
Q2: Why does the problem happen on some prints but not others?
Spaghetti is often model-dependent. Complex geometries without proper support are more prone to failure. It also depends on print orientation and material settings.
Q3: What is the fastest way to detect a failing print?
Use a camera or install a print monitoring plugin. Watch for signs like layer detachment, uneven lines, or nozzle movement with no adhesion early in the print.
Q4: Can this issue happen on SLA printers?
No. SLA printing uses resin cured by light and builds from a different mechanism. Spaghetti-like failures are specific to filament-based (FDM) systems.
Q5: Will a better printer solve this problem entirely?
A high-quality printer helps, but setup and calibration are still key. Even premium printers can fail if not properly tuned or maintained.

