3D Printed Molds: A Game Changer for Manufacturing and Prototyping

Discover how 3D printed molds are transforming manufacturing and prototyping, setting the stage for innovations across various industries.
Introduction
3D printed molds have quickly become useful in manufacturing and design testing. While traditional molds often take a long time and lots of money to make, 3D printed molds offer a more flexible option that lets companies easily create unique, customized designs for car parts, electronics, and medical equipment.
What are 3D Print Molds?
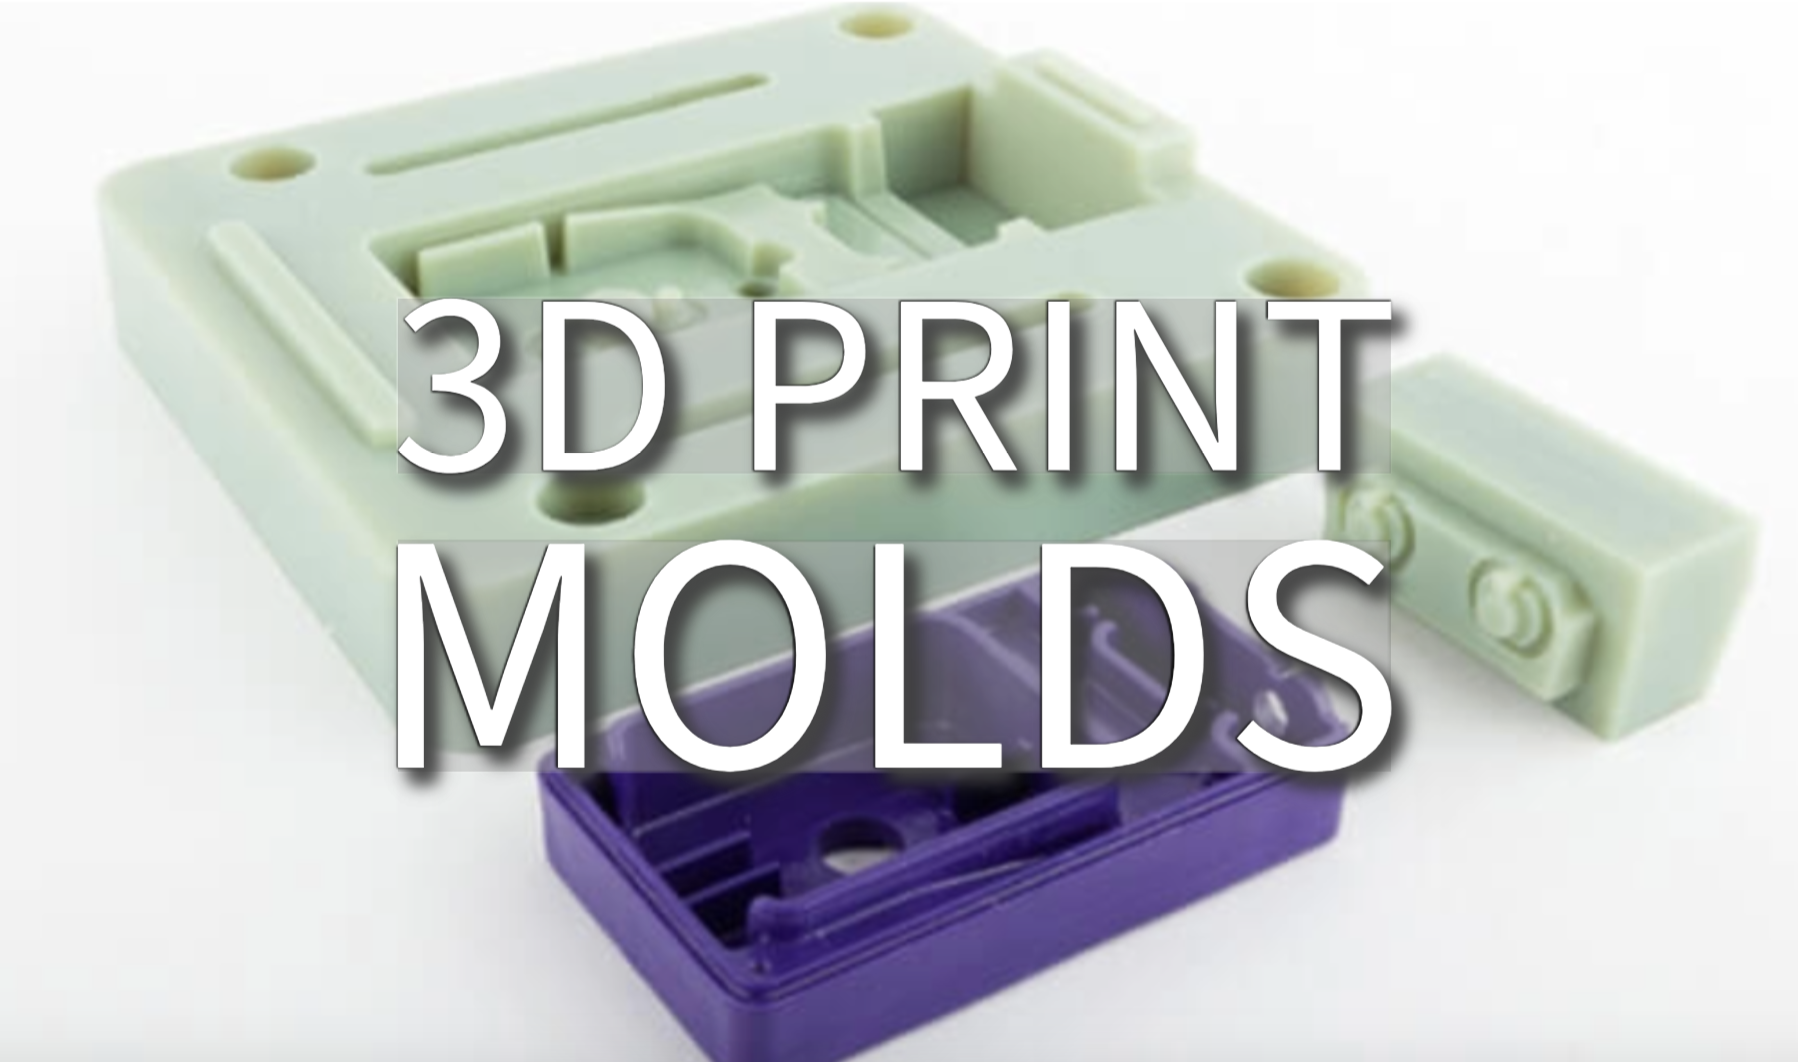
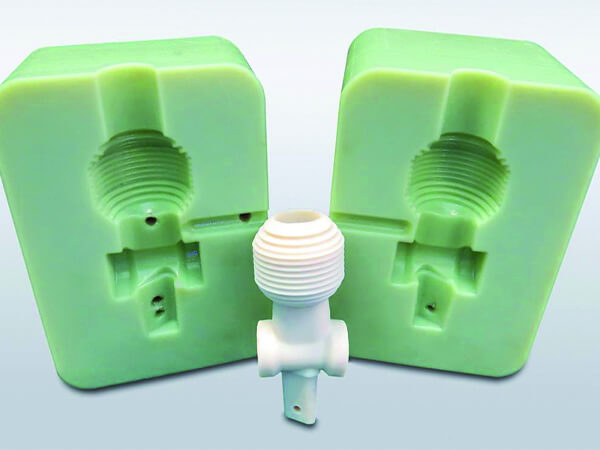
3D print molds are custom molds produced using 3D printing technology, which layers materials to build up complex designs.
These molds can be made from a variety of materials, depending on the end-use requirements, and are often used for casting, injection molding, or vacuum forming.
This method allows for very exact and customized molds. It makes it possible to 3D print very detailed shapes that would be hard or impossible to make with regular mold-making techniques.

Source: dreambot3d.com
3D Print Molds vs. Traditional Mold-Making
Here’s a comparison chart of the two:
Aspect | 3D Print Molds | Traditional Mold-Making |
|---|---|---|
Speed | Fast, quick iterations | Slow, especially for complex designs |
Cost | Cheaper for small runs or prototypes | Expensive, high initial setup costs |
Design Flexibility | High, supports complex designs | Limited, complex designs increase costs |
Customization | Easy and affordable | Costly and time-consuming |
Materials | Plastics, resins, some metals | Mostly metals (steel, aluminum) |
Durability | Less durable, best for low-volume production | Very durable, ideal for large-scale production |
Lead Time | Short, fast production | Long, setup takes weeks |
Best For | Low-volume, prototyping, custom designs | High-volume, long-term production |
Surface Finish | May need smoothing | High-quality finish, but may need polishing |
Environmental Impact | Low waste | More waste |
In summary, 3D print molds are excellent for rapid prototyping, small-batch production, and intricate designs.
Traditional mold-making, on the other hand, excels in high-volume production due to its durability and ability to produce molds for long-term use.
The choice between these two methods depends on the production needs, design complexity, and budget.
Key Benefits and Limitations of 3D Print Molds
Pros
Speed: 3D printing drastically reduces the time required to produce molds, enabling faster product development cycles.
Customization: Each mold can be easily modified and customized, offering endless design possibilities.
Cost-Effective for Short Runs: Unlike traditional molds, which are costly for small production runs, 3D print molds offer affordable solutions for low-volume production.
Complex Geometries: The ability to create complex designs and fine details makes 3D print molds ideal for prototyping and producing intricate components.
Sustainability: 3D printing reduces waste by only using the necessary material, making it a more environmentally friendly option.
Cons
Durability: 3D printed molds may not have the same durability as traditional molds, especially for high-volume manufacturing.
Material Limitations: Some 3D printed materials may not be suitable for specific applications, such as those requiring high heat resistance.
Size Constraints: The size of the mold is often limited by the size of the 3D printer, making it challenging for larger projects.
Cost for Large Volumes: While 3D printing is cost-effective for short runs, the cost may increase significantly for high-volume production.
How 3D Printed Molds Work
By following steps, manufacturers can create highly customized, detailed molds quickly and efficiently.
The process is especially valuable for prototyping and short production runs.
1. Create the Design (CAD Modeling)
Start by designing the mold in CAD (Computer-Aided Design) software. This is where you define the shape, size, and details of the mold.
Ensure the design is suitable for 3D printing, accounting for important factors like thickness, support needs, and the printer’s capabilities.
2. Convert and Slice the Model
Export the design file in a 3D printer-friendly format (like .STL or .OBJ).
Use slicing software to break the 3D model into horizontal layers. The software generates a plan for how the printer will build the mold, one layer at a time.
3. Choose the Right Material
Select a material based on how the mold will be used. Common materials include:
The choice of material determines the mold’s strength, flexibility, and temperature resistance.
4. Print the Mold
The 3D printer builds the mold layer by layer according to the sliced design.
Different printing technologies are used based on material:
The process continues until the mold is fully printed.
5. Post-Processing
After printing, the mold often needs finishing steps, such as:
Removing support structures used during printing.
Sanding and polishing the surface for smoothness.
Curing the material (for resin molds) to harden it fully, often using UV light.
6. Test and Improve the Mold
Once post-processing is done, the mold is tested to ensure it meets the necessary standards.
If adjustments are needed, the digital design can be tweaked, and a new version of the mold printed quickly, allowing for fast revisions.
7. Use the Mold
The finished mold is now ready for use in manufacturing processes like:
Casting: Pouring liquid materials like metal or plastic into the mold.
Injection Molding: Injecting material into the mold for low-volume production.
Vacuum Forming: Shaping heated plastic sheets over the mold to create parts.
Design Considerations
When designing 3D printed molds, it’s important to keep the following factors in mind:
Wall Thickness: Ensure the walls of the mold are thick enough to provide strength and durability, but not so thick that they increase print time unnecessarily.
Support Structures: Some complex designs may need temporary supports during printing. Plan for how these will be removed without damaging the mold.
Tolerance and Fit: Design with precision to ensure the mold fits well with other parts or meets specific size requirements. Account for material shrinkage or expansion during printing and cooling.
Surface Finish: Molds should have smooth surfaces where needed, but the printed mold may require post-processing like sanding or coating to achieve this.
Material Compatibility: Choose a material for the mold that is compatible with the casting material (e.g., if you’re casting hot liquids, ensure the mold material can withstand the heat).
Draft Angles: Include slight angles in the design to make it easier to remove the finished product from the mold without damage.
Complexity of Design: Take advantage of 3D printing’s ability to create intricate details, but ensure the design remains practical and easy to print.
Applications of 3D Print Molds
3D print molds are used across various industries to meet diverse manufacturing and prototyping needs:
Automotive: Custom parts, components, and tooling for rapid prototyping.
Consumer Goods: Low-volume production runs for customized products, from toys to kitchen gadgets.
Medical Devices: Precision molds for medical implants, prosthetics, and surgical tools.
Aerospace: Lightweight and complex geometries for parts and prototypes.
Jewelry: Fine details and rapid prototyping for custom jewelry designs.
3D Print Silicone Mold
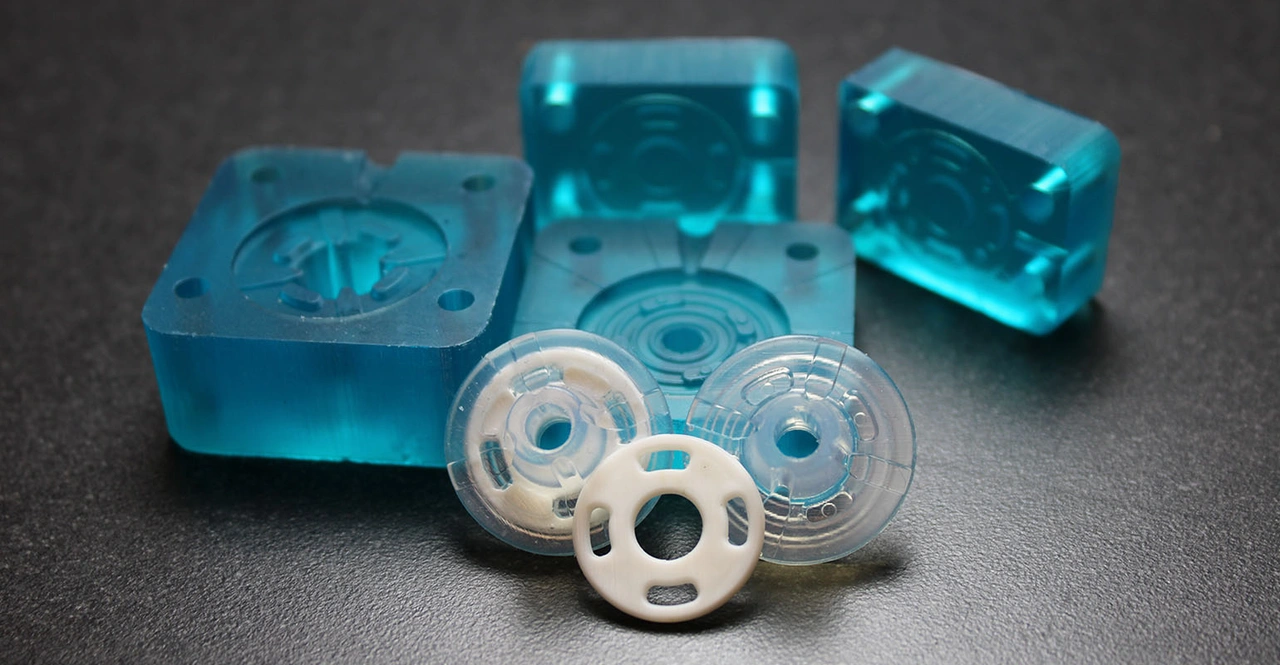
Silicone molding is one of the most common applications for 3D print molds. In this process, a 3D printed master mold is used to create a silicone cast.
3D printing's precision allows for creating detailed silicone molds, used in industries like healthcare, consumer goods, and culinary arts to make items like medical parts, wearable devices, and food-grade molds.

Source: plasticstoday.com
Conclusion
3D print molds represent a significant shift in the way products are designed, prototyped, and manufactured.
While there are limitations, particularly in terms of durability for high-volume production, the benefits for low- to medium-volume runs and intricate designs make 3D print molds a game-changer in modern manufacturing.
Unionfab: Precision 3D Printed Molds for Every Industry Need
Unionfab, a leading provider of 3D printing services, offers comprehensive solutions for creating 3D printed molds tailored to specific industry needs.
Whether you are looking for prototypes or small-batch production, get an instant quote or contact us to help you bring designs to life with precision and efficiency.

