How to Sand 3D Prints? A Beginner's Guide

This step-by-step guide covers the tools, techniques, and tips to make your 3D models look perfect.
Introduction
3D printing is an exciting technology that allows you to create complex models at home or in the office. However, most prints don’t come out perfect right off the printer. Layer lines, small bumps, and imperfections are common in FDM, SLA, and other types of 3D prints.
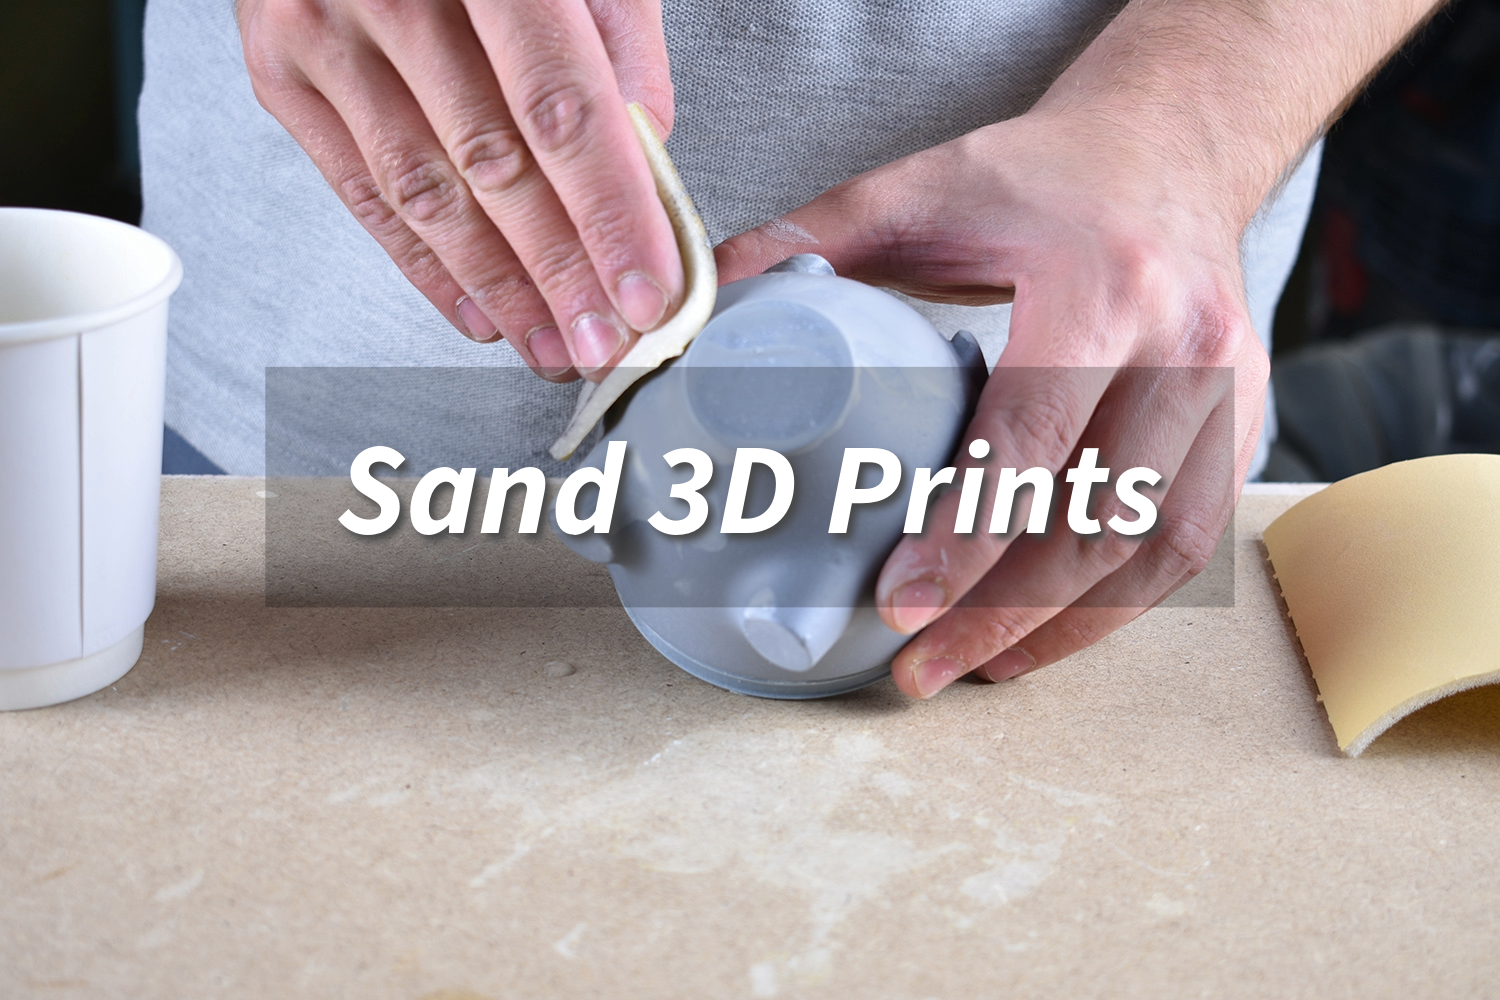
Sanding is the key process to refine these prints, making them smooth, detailed, and ready for painting or finishing. In this guide, we'll cover the entire sanding process, from the tools you'll need to the techniques for achieving a polished final product.
Why Sand 3D Prints?
Sanding 3D prints isn't just for aesthetics—though smooth models do look far more professional. Here are several reasons to sand your prints:
Remove layer lines: Many 3D printing processes, particularly FDM, leave visible lines between each printed layer. Sanding smooths these out for a clean finish.
Prepare for painting: If you plan to paint your model, a smooth surface ensures the paint adheres evenly and looks its best.
Refine details: Sanding can enhance the fine details of your model, making intricate designs stand out.
Improve fit for functional parts: If you're printing parts that need to fit together or move, sanding can help ensure precision and smooth movement.

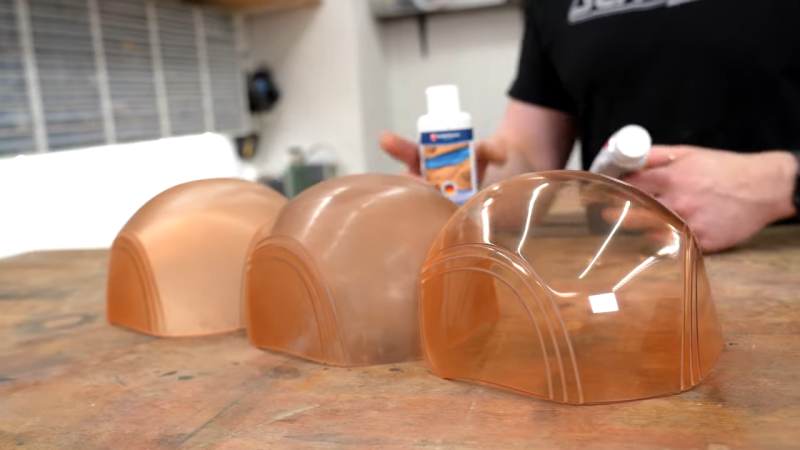
Source: hackaday.com
Tools You Need for Sanding 3D Prints
To get started with sanding, you'll need a few essential tools. Depending on the complexity of your print and the level of finish you desire, you may need more or fewer of these items:
Sandpaper: Ranging from coarse (80-100 grit) to ultra-fine (up to 2,000 grit). Coarse grits help remove larger imperfections, while fine grits are used for smoothing.
Sanding sponges or blocks: These provide even pressure while sanding and are helpful for flat surfaces.
Needle files: For getting into hard-to-reach corners and intricate areas.
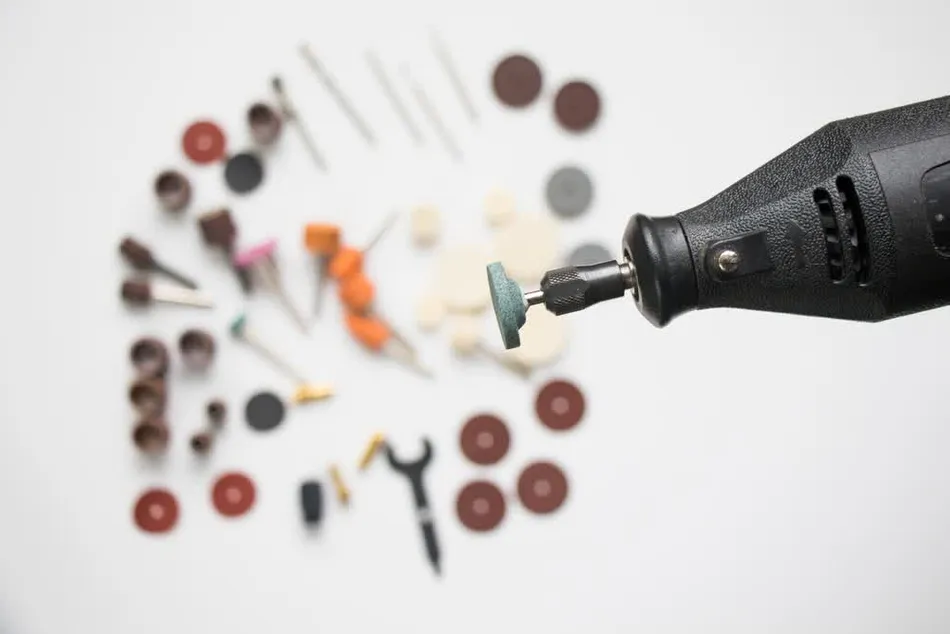
Dremel or rotary tool (optional): For speeding up sanding, particularly on larger prints or hard materials.
Water and soap: Wet sanding helps reduce dust and keeps the surface smoother.
Respirator or dust mask: To protect yourself from inhaling fine particles.
Safety goggles: Essential when using rotary tools or sanding more vigorously.

Source: wevolver.com
Step-by-Step Guide to Sanding 3D Prints
Follow these steps to effectively sand your 3D prints:
Initial Assessment: Inspect your 3D print to identify areas with visible layer lines, supports, or imperfections that need sanding.
Start with Coarse Grit Sandpaper (80-120 grit): Begin by sanding rough areas and supports. For FDM prints, focus on visible layer lines.
Progressively Use Finer Grits (220-400 grit): As the print becomes smoother, switch to finer grits to refine the surface and eliminate scratches left by coarse sandpaper.
Wet Sand for a Smoother Finish (600-2,000 grit): Wet sanding is ideal for minimizing dust and achieving an ultra-smooth finish. Keep the sandpaper damp and gently sand the model in circular motions.
Use a Rotary Tool for Detailed Areas: For models with intricate details, a rotary tool with a sanding attachment can speed up the process. Use low speeds to avoid melting the plastic.
Check Your Progress: Regularly wipe down the print with a cloth or rinse with water to assess the smoothness. Repeat sanding with finer grits as needed.
Common Mistakes to Avoid
Sanding 3D prints may seem straightforward, but several common mistakes can lead to less-than-perfect results or even damage to your model. Avoid these pitfalls to achieve a smooth, professional finish:
Sanding Too Aggressively
Excessive sanding pressure can damage your model. It can distort details and create uneven surfaces. Sand gently and let the paper do the work.
Skipping Grit Levels
Don’t skip grits when sanding. Jumping from coarse to fine grit leaves deep scratches. Gradually progress through grits to ensure a smooth finish.
Not Using Wet Sanding with Fine Grits
Dry sanding with ultra-fine grit sandpaper can cause problems. The dust can clog the paper and create an uneven finish. Always wet sand for a smoother result.
Overheating the Print with a Rotary Tool
Using a rotary tool can melt plastic. Use a low speed and avoid excessive pressure. Let the plastic cool regularly.

Need Expert Finishing Services for Your 3D Prints?
At Unionfab, we offer professional finishing services that go beyond DIY methods. Whether you need sanding, polishing, or advanced surface treatments like vapor smoothing or painting, our experts ensure that your parts meet the highest standards of quality and aesthetics.
While sanding isn’t available in our instant quoting system, you can easily contact us for custom finishing solutions. Let us handle the intricate work while you focus on your designs!
Tips for Different 3D Printing Materials
Different 3D printing materials require different sanding techniques:
PLA
PLA is relatively easy to sand but can soften if sanded too aggressively. Use light pressure, and wet sanding is highly recommended.
ABS
ABS is more durable but can melt under friction. Sand gently and take breaks if the print gets too warm.
Resin (SLA prints)
Resin prints are smoother from the outset, but sanding can be useful to remove support marks or minor imperfections. Use fine grits and wet sanding for best results.
PETG
PETG tends to be tougher, so starting with a coarser grit may be necessary. Be cautious of generating heat while sanding.
After Sanding: Optional Finishing Touches
Once you've achieved the desired smoothness, you may want to finish your 3D print with these optional steps:
Finishing Step | Purpose | How to Apply |
|---|---|---|
Priming | Fills tiny imperfections and preps surface for paint. | Use spray primer suitable for 3D prints. Apply several light coats, allowing each to dry. Lightly sand between coats with fine grit for smoothness. |
Painting | Adds color and detail to the model. | Choose paint designed for your material (e.g., acrylic for PLA). Apply thin layers with a spray can or brush, letting each coat dry fully before adding more. |
Clear Coating | Protects and enhances the appearance. | Spray a clear coat (glossy, satin, or matte) for protection and finish. Apply in thin layers, and let each layer dry to avoid a sticky or uneven finish. |
Polishing (Resin Prints) | Provides a high-gloss, professional finish for resin. | After sanding, use a polishing compound or liquid polish with a soft cloth or polishing pad. Buff the surface to a high sheen. |
Alternatives to Sanding
Sanding isn't the only way to smooth 3D prints. Here are some alternatives for achieving a similar effect:
Vapor smoothing (for ABS): Acetone vapor can smooth ABS prints by slightly melting the surface, leaving a glossy finish.
Filler primers: Spray-on filler primers can be used to fill in layer lines and other imperfections, reducing the need for sanding.
Heat guns: Carefully applied heat can soften the outer surface of a print, reducing the appearance of layer lines.
Conclusion
Sanding is a crucial step in refining 3D prints, especially if you're aiming for a professional, smooth finish. By following the correct steps, using the right tools, and being mindful of your 3D print material, you can transform your raw prints into stunning finished products.
Don't forget to take your time, progress through the grits, and apply the optional finishing touches to achieve the best results.
Why Choose Unionfab for 3D Print Finishing
Comprehensive Expertise: From 3D printing to post-processing, we deliver a one-stop solution for all your manufacturing needs.
Precision & Quality: Our team ensures flawless finishes tailored to your specific project requirements.
Tailored Services: We provide a variety of finishing options, including polishing, painting, and specialized coatings.

While sanding can take your models to the next level, we also offer professional post-processing options for clients who want flawless results without the hassle. Talk to our experts to learn more about our services.
FAQs
What is the best way to sand 3D prints?
Start with coarse grit sandpaper (100-150) to remove layer lines, then move to finer grits (220-600) for a smooth finish. Wet sanding with light pressure is recommended for better results, especially with finer grits.
How to smooth out PLA 3D prints?
Begin with medium grit sandpaper (150-220), sanding gently to avoid overheating. Gradually switch to finer grits (400-600), and use wet sanding to reduce heat and improve smoothness. You can also use filler primer for a smoother finish.
Do you have to sand 3D prints before painting?
Yes, sanding is recommended to remove rough spots and layer lines. It helps create a smooth surface for painting. After sanding, apply primer to prepare the surface for paint and ensure better adhesion.
Can you wet sand 3D prints?
Yes, wet sanding is effective, especially with fine grits (400-1,000). It reduces heat, minimizes dust, and helps achieve a smoother finish. Wet sanding works well with PLA, ABS, and resin prints.

