Bike Frame 3D Printing: Material, Design and Cost Advice
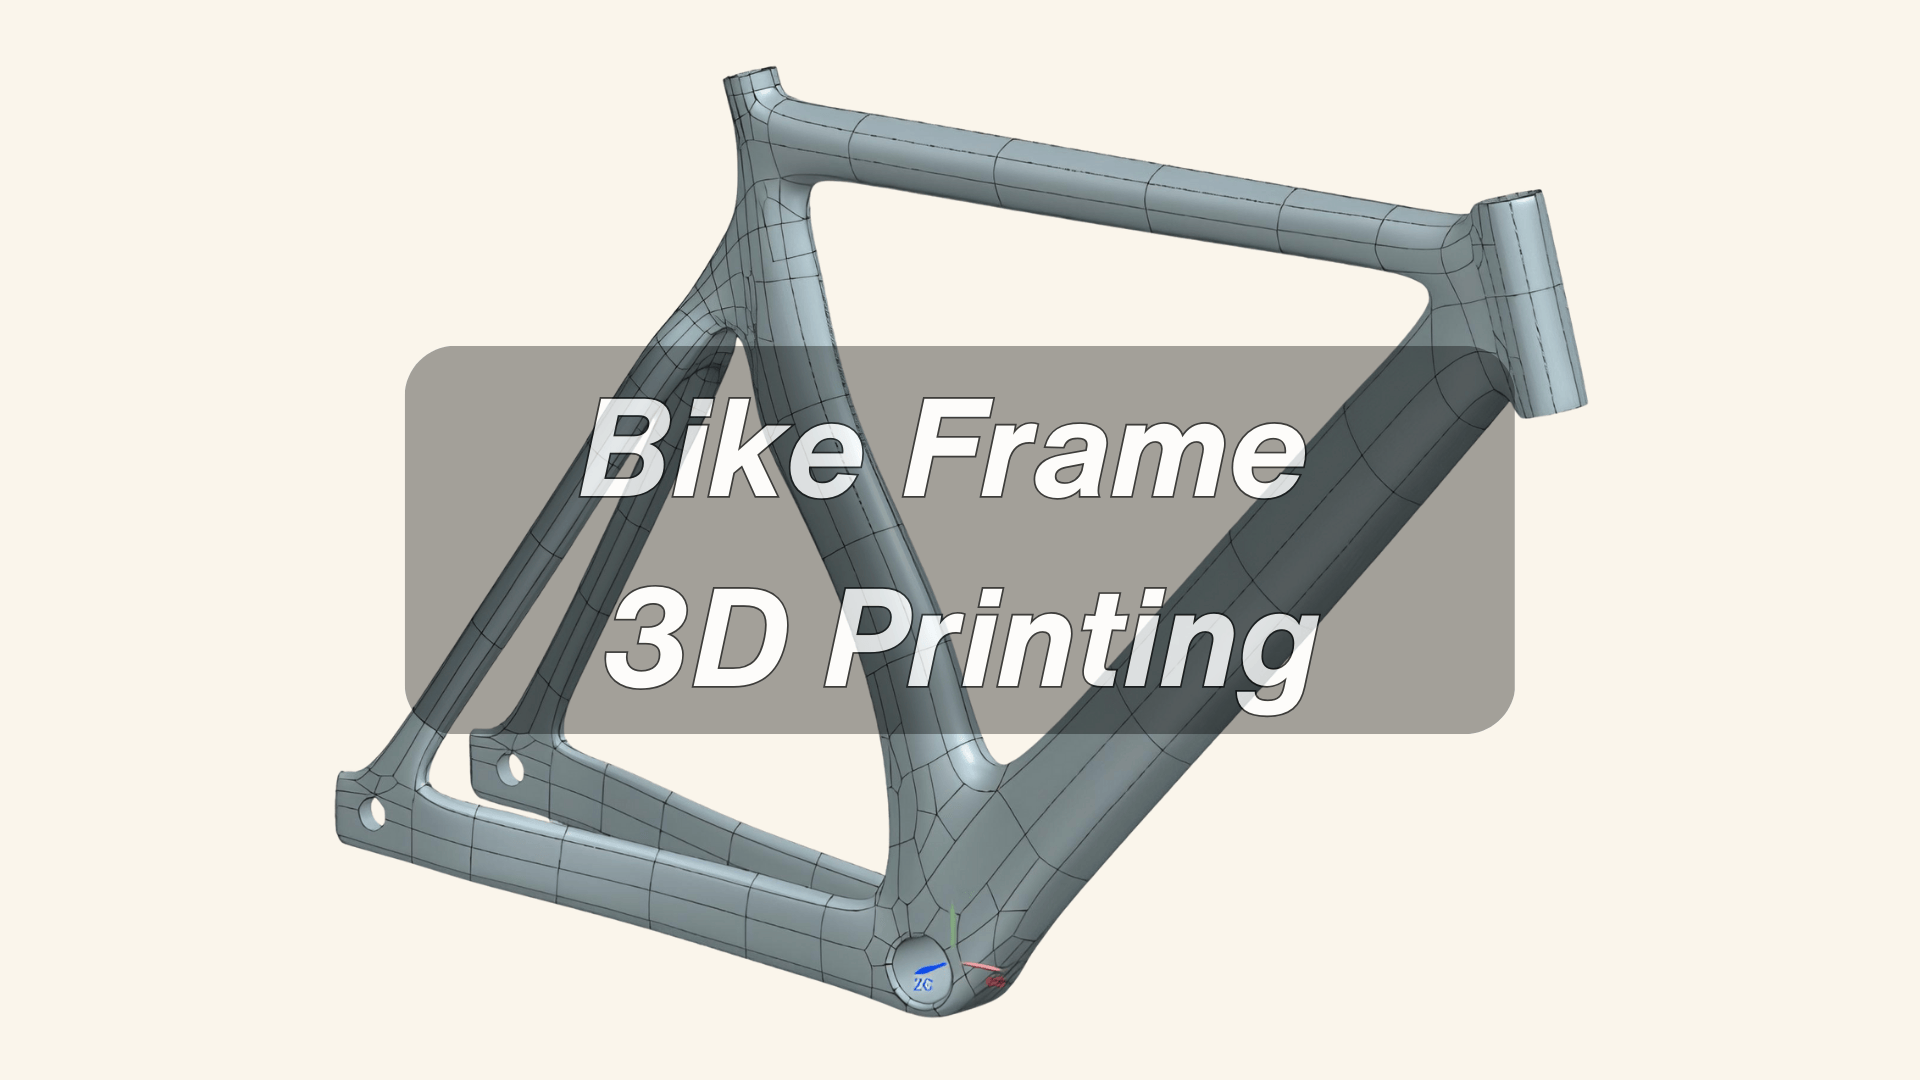
Explore bike frame 3D printing: materials, design optimization, cost factors, and how additive manufacturing outperforms welding and lugs.
AM’s Breakthroughs in Bicycle Manufacturing
In high-end bicycle manufacturing, achieving personalization, structural performance, and faster product development has long been a critical challenge.
Today, additive manufacturing has moved far beyond the laboratory stage — it is a proven, reliable production method delivering measurable results.
Custom bike maker Métier Vélo uses 3D-printed titanium (Ti-6Al-4V) lugs with internal channels and serviceable separations, enabling fully personalized frames that integrate cable routing while reducing maintenance complexity.
Australian premium brand Bastion Cycles leverages 3D-printed titanium lugs to precisely control frame geometry and stiffness, resulting in a carbon-tube frame that offers higher customization and superior ride performance.
German manufacturer Möve adopted metal 3D printing for titanium connection nodes, creating an integrated e-bike frame with a built-in battery, while shortening the development cycle by at least four months.
Together, these cases demonstrate a clear trend: additive manufacturing is breaking through the traditional limitations of geometry, customization speed, and structural integration.
The key question is: “Traditional Manufacturing vs. Additive Manufacturing – Why change?”
Understanding Traditional Bike Frame Manufacturing
Mainstream Traditional Manufacturing Methods
The manufacturing method of a bicycle frame is closely tied to the material used, and the process varies depending on the type of bike (entry-level, road racing, mountain, or custom hand-built).
Broadly speaking, the mainstream traditional methods today can be categorized into the following types:
1. Steel Frames
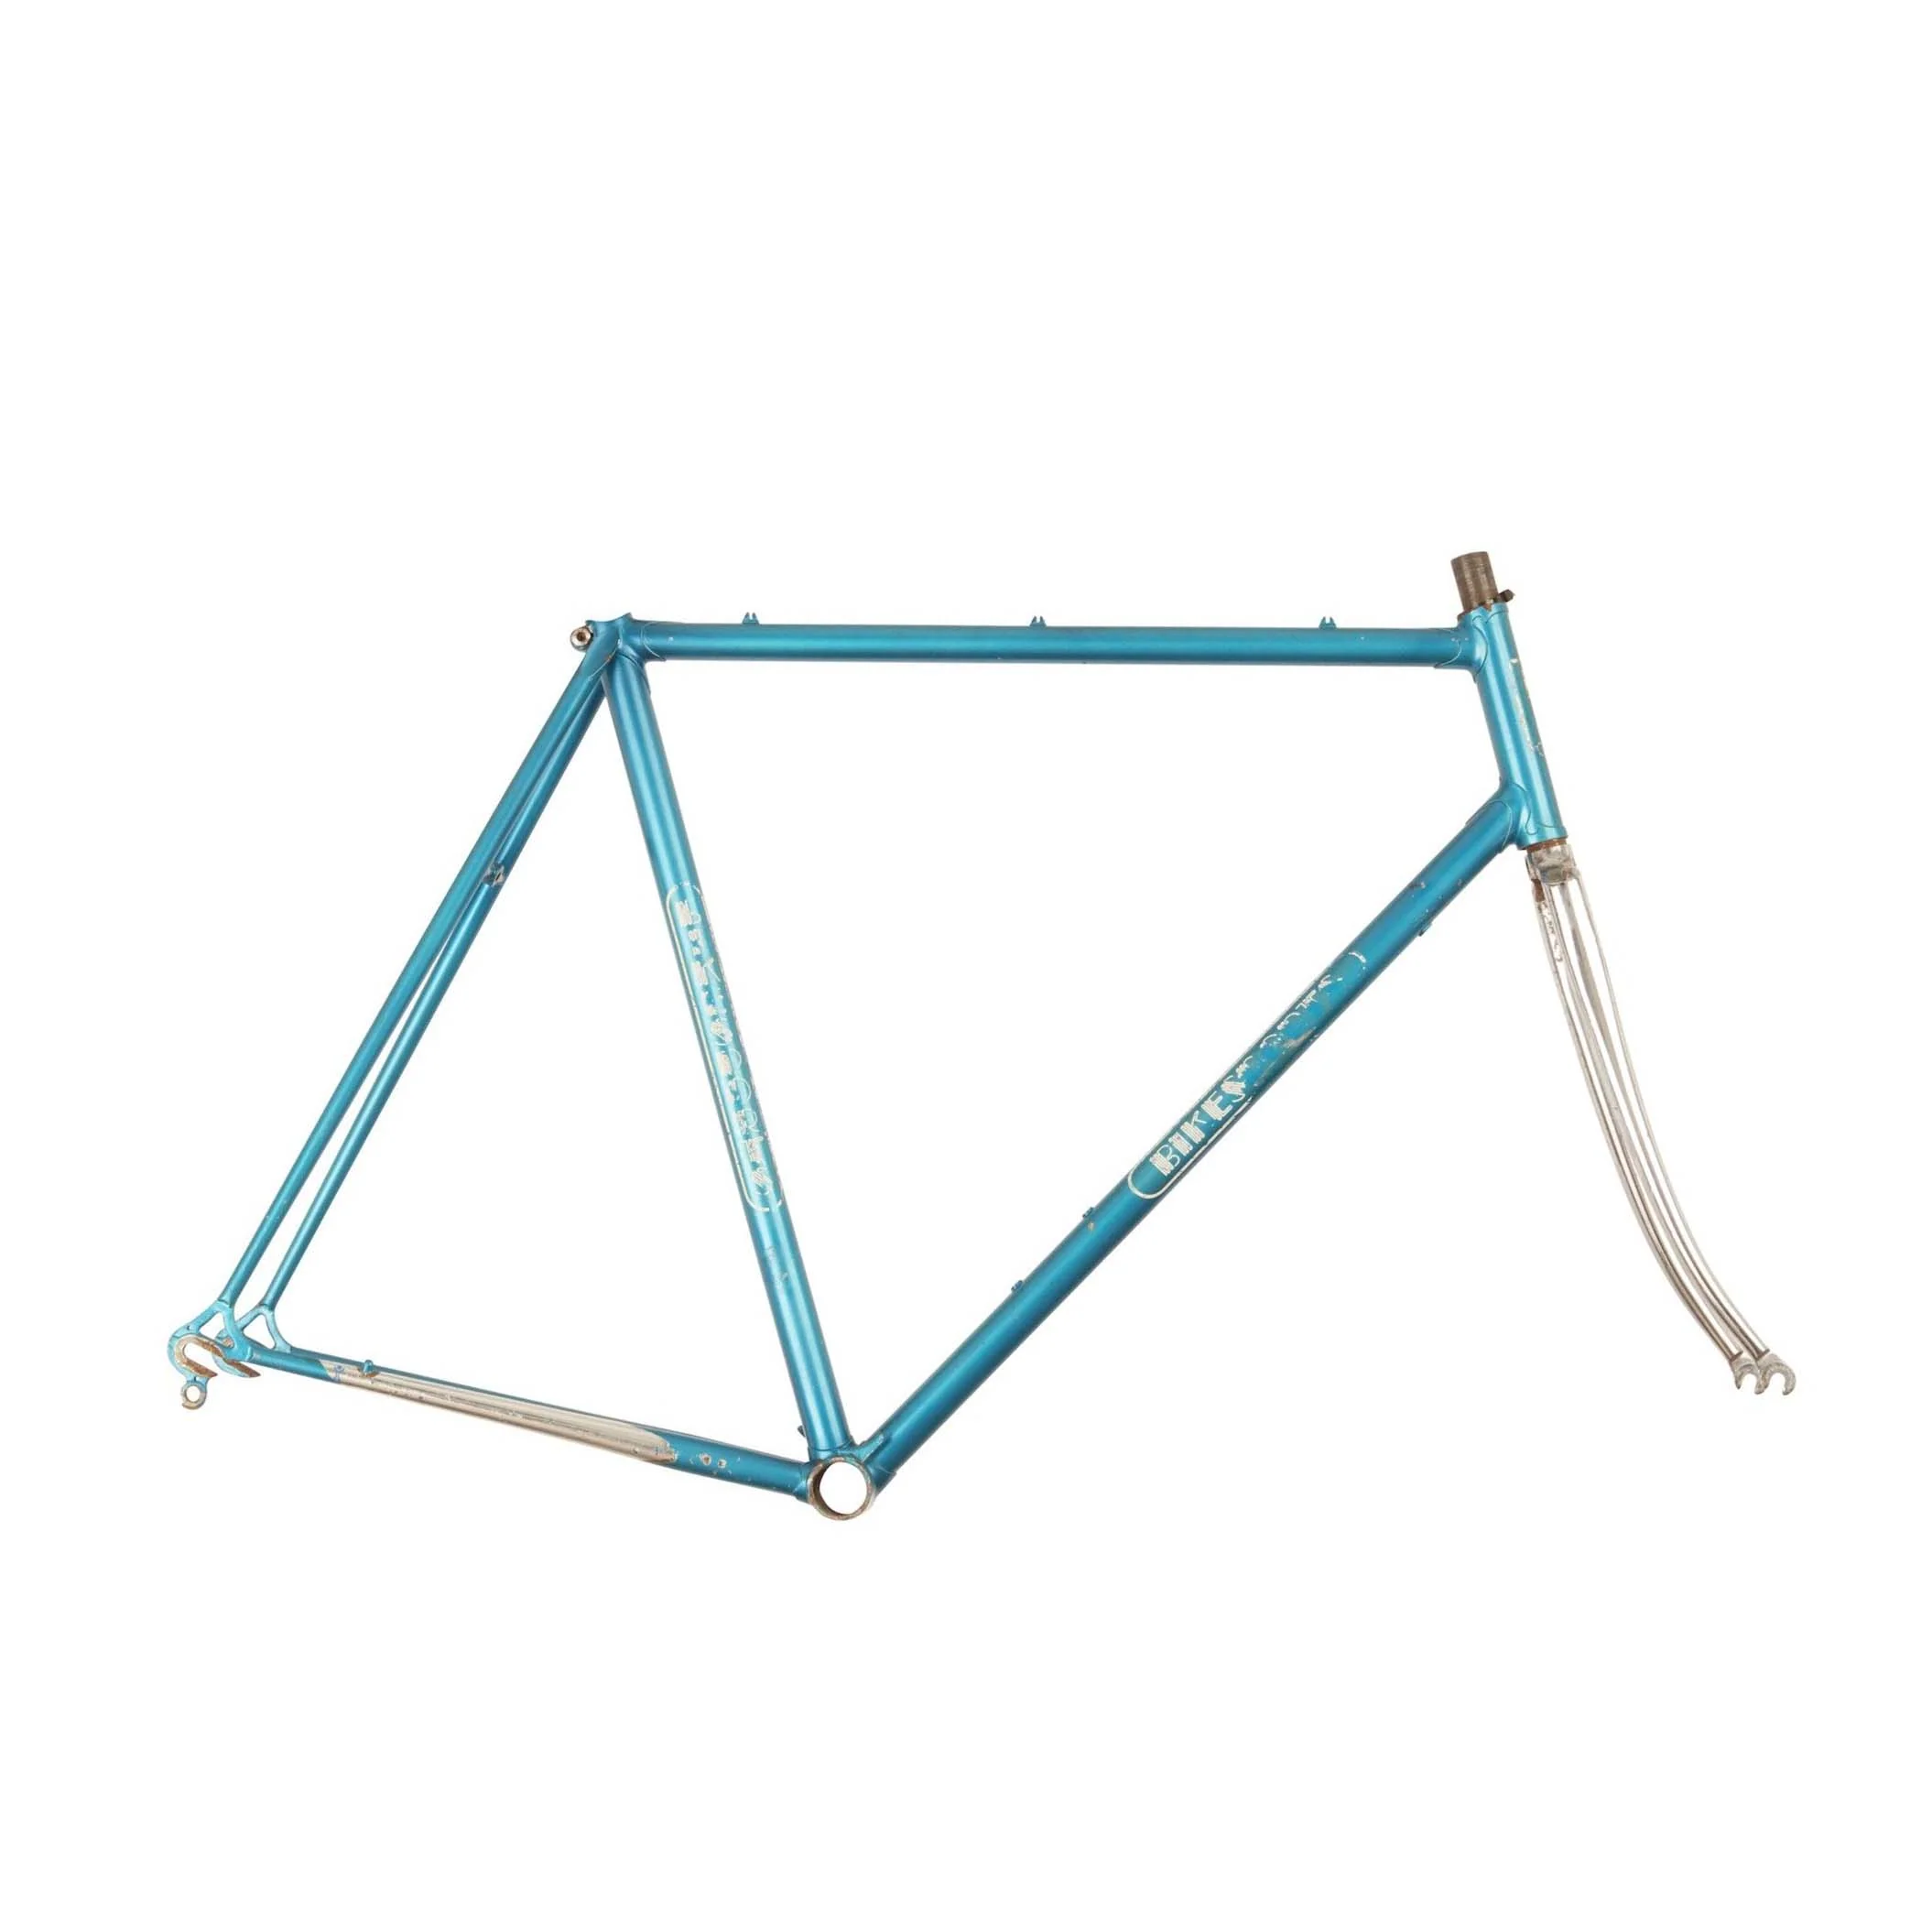
Steel bike frame
●Materials: Common options include chromium-molybdenum steel (Cr-Mo) and stainless steel.
● Process:
Cutting steel tubes → mitering ends → inserting into lugs or direct tube-to-tube joining → welding, silver brazing, or brazing.
High-end steel frames often use TIG (Tungsten Inert Gas) welding, which produces fine, strong seams.
Silver brazing or lugged construction is more common in vintage or custom handmade frames.
● Characteristics: High toughness, excellent comfort, easy to repair.
2. Aluminum Alloy Frames
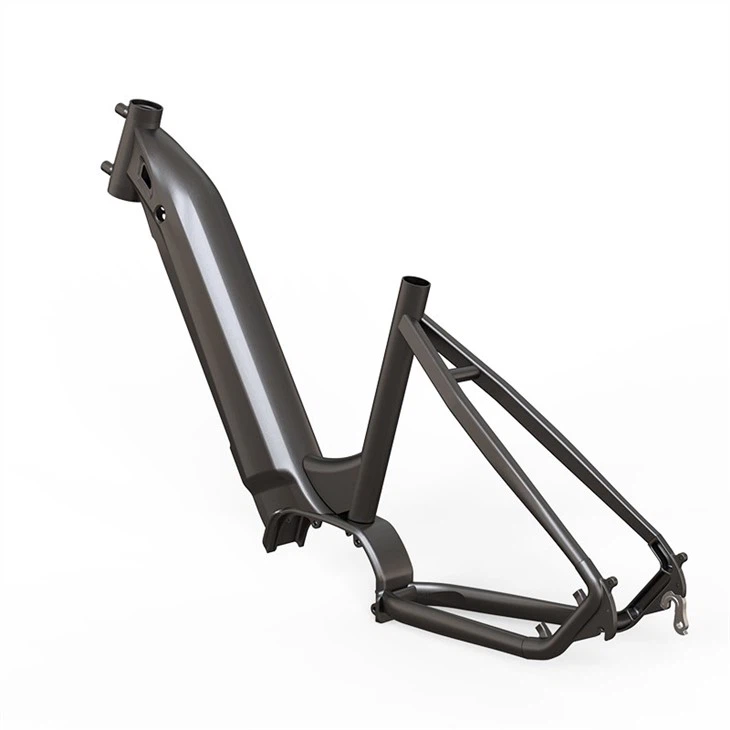
6061 Aluminum Alloy Electric City Bicycle Bike Frame
● Materials: Typically 6xxx or 7xxx series aluminum alloys.
● Process:
Tubes are shaped using hydroforming to achieve complex cross-sections that improve rigidity and reduce weight.
After cutting, tubes are joined with TIG welding.
Post-welding, heat treatment (e.g., T6 tempering) is required to restore strength.
● Characteristics: Lightweight, high stiffness, and relatively low cost, but less comfortable and durable compared to steel or carbon fiber.
3. Carbon Fiber Frames
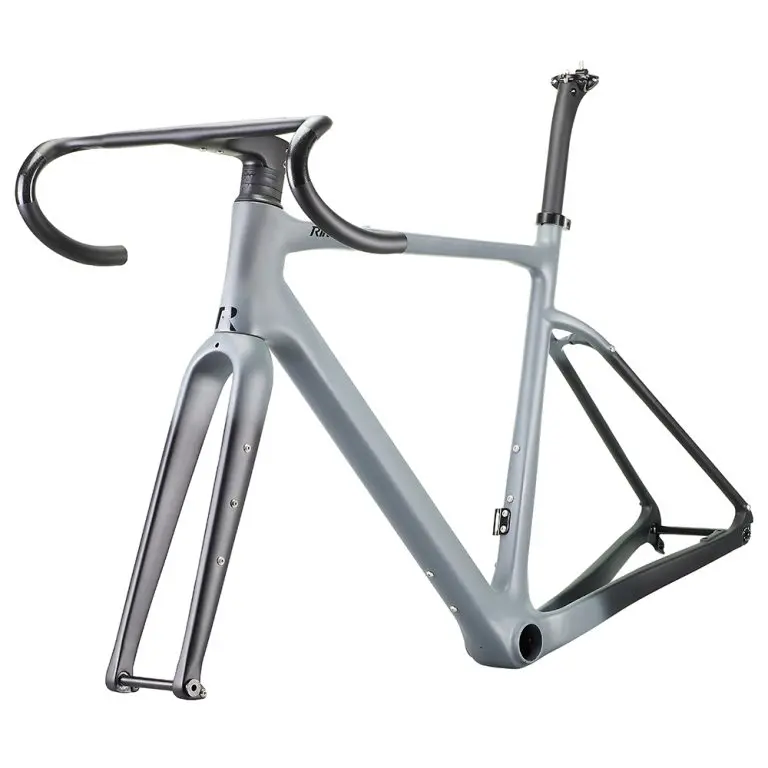
Carbon Road Bike Frames

● Materials: Carbon fiber fabric (prepreg with resin matrix).
● Process:
Carbon sheets are hand-laid or tape-placed into a mold.
Vacuum bagging or inflatable bladders combined with high-temperature curing ensures proper consolidation.
After curing: demolding, trimming, finishing, sanding, and painting.
● Characteristics: Lightest in weight with the highest design flexibility (aerodynamic shapes, localized reinforcement). However, cost is high, manufacturing is complex, and impact resistance is limited.
4. Titanium Frames
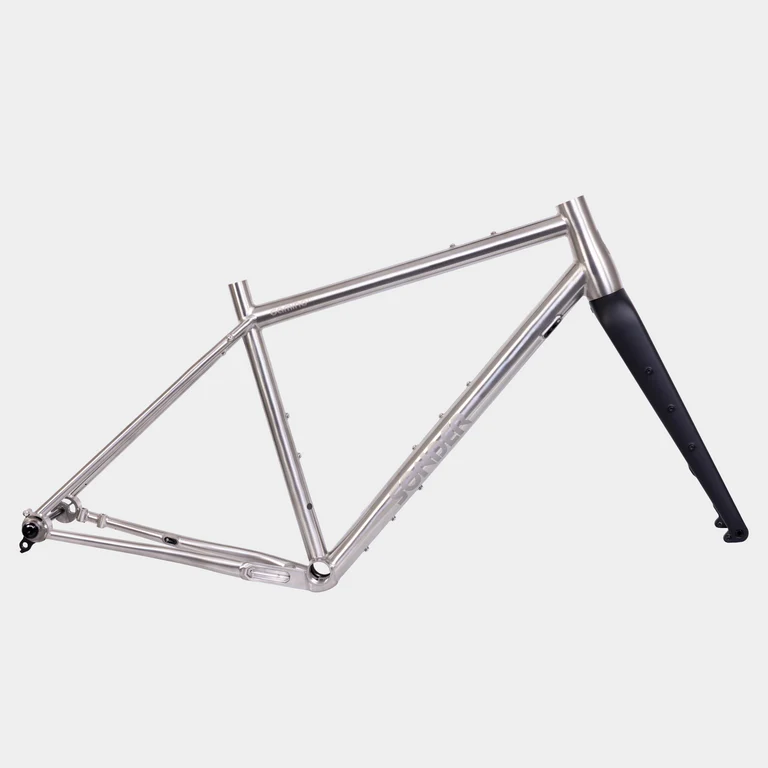
Titanium Bike Frame
● Materials: Titanium alloys such as Ti-3Al-2.5V.
● Process:
Tubes are cut and precision TIG-welded under inert gas (argon) shielding.
Processing difficulty is high, and weld quality requirements are extremely strict.
● Characteristics: Weight falls between steel and aluminum. Offers outstanding comfort and durability, often marketed as “lifetime frames,” but very expensive.
Pain Points of Traditional Manufacturing
1. Process Limitations
Traditional metal frames—whether steel, aluminum, or titanium—are constructed by cutting multiple tubes and joining them through welding or brazing. While proven, this approach introduces inherent weaknesses:
Weld seams as fatigue hotspots: Every weld creates a localized stress concentration, often becoming the first point of fatigue failure.
Heat-affected zones: Welding alters the microstructure of metals, coarsening grains near the seam and reducing mechanical performance in those areas.
High dependency on craftsmanship: Welding quality and appearance vary significantly with operator skill, making consistent results hard to guarantee.
Carbon fiber frames, though often perceived as “monolithic,” also rely on segmented layups, compression molding, and adhesive bonding. These junctions remain potential weak spots under long-term load.
2. Design Constraints
The geometry of traditional frames is largely dictated by the tubular building blocks:
Shape restrictions: Round or oval tubes dominate, limiting design flexibility and aerodynamic innovation.
Lugged construction limits customization: Standardized lug angles constrain geometry options for riders with unique fit requirements.
Internal structure is inaccessible: Creating lightweight lattice structures or tailored reinforcements inside tubes is virtually impossible.
Difficult optimization: Adjusting stiffness, compliance, or comfort can only be achieved through coarse changes in tube diameter or wall thickness, offering limited control.
3. Performance and Quality Challenges
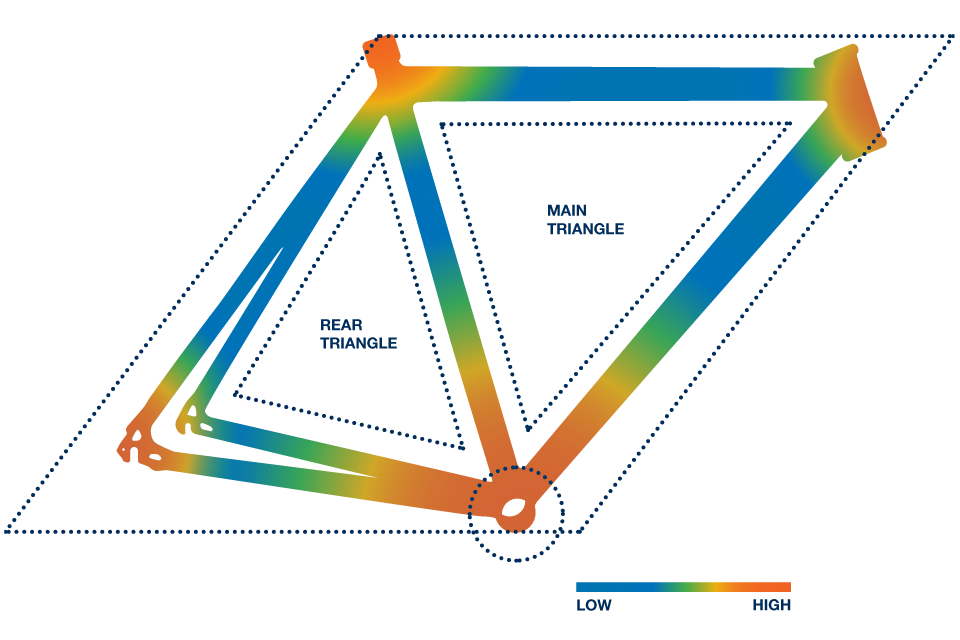
How Stress is distributed in a bike frame
Reliability and durability are directly affected by the manufacturing process:
Welded joint fatigue: As we can see from the diagram above, key junctions such as the bottom bracket shell, seat clamp area, and rear triangle intersections are frequent failure points due to weld clustering.
Adhesive degradation in carbon fiber frames: Bonded interfaces are vulnerable to environmental exposure (humidity, heat), leading to debonding or delamination over time.
Inconsistent outcomes: Both welding and hand layup rely heavily on manual labor, resulting in variability between production batches and even within a single frame model.
4. Cost and Efficiency Drawbacks
Conventional methods also face economic inefficiencies:
Labor-intensive: Skilled welders and carbon layup technicians are indispensable, driving up labor costs.
Expensive tooling for composites: Every new frame design requires fresh molds, making small-batch production or rapid customization uneconomical.
Slow design iteration: Any geometry adjustment necessitates either new tooling or welding process revisions, significantly lengthening development cycles.
Bike Frame 3D Printing Process
In practice, the process can vary across brands and technologies, but the overall workflow typically follows these main steps:
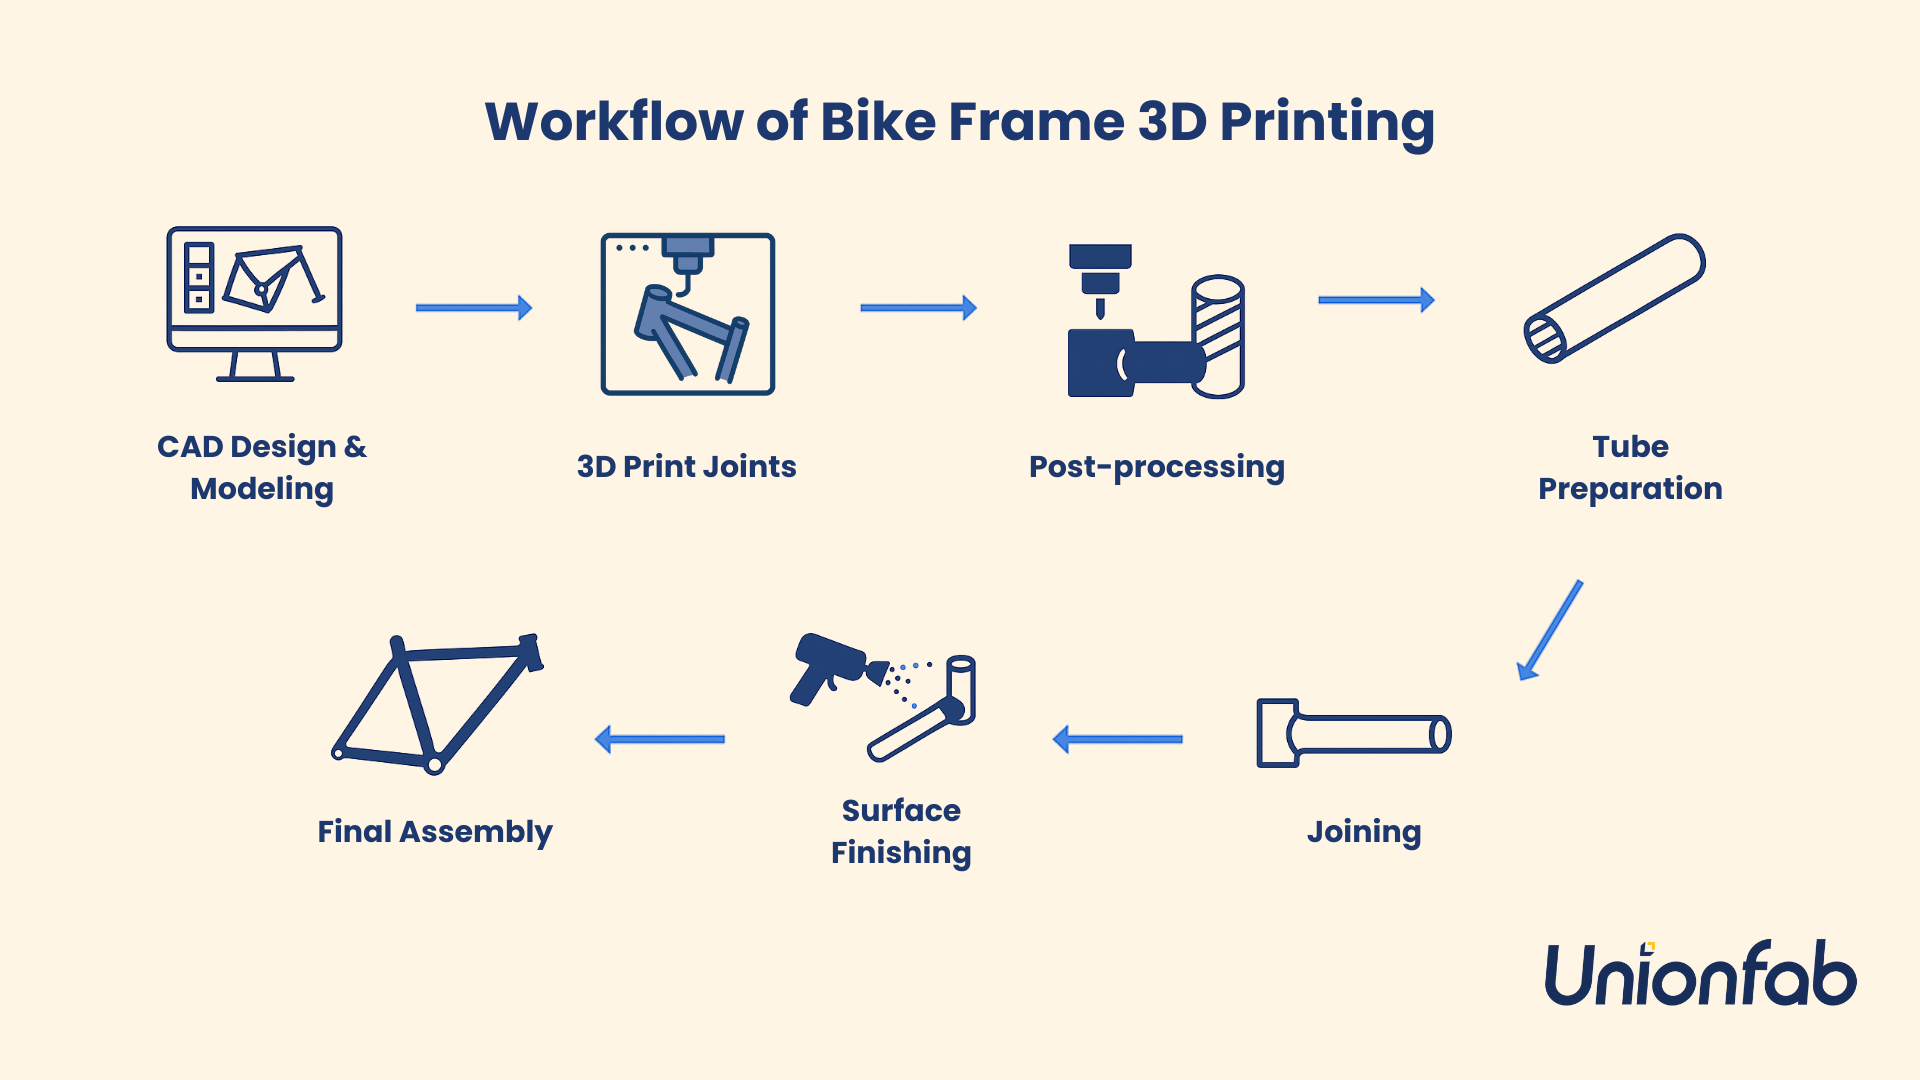
1. CAD Design and Topology Optimization
Engineers create digital models of frame joints (lugs, bottom bracket, head tube, and other key nodes) in CAD software.
The design is often combined with topology optimization and finite element analysis (FEA) to reduce weight while ensuring structural strength.
Tube interfaces (for carbon fiber or metal tubes) are also defined at this stage.
2. 3D Printing of Joints
Metal additive manufacturing, particularly SLM / DMLS (Selective Laser Melting / Direct Metal Laser Sintering) is commonly used. It delivers high precision, ideal for complex details. 3D-printed carbon fiber frames are still in the experimental stage and not yet in large-scale commercial use.
Here we have compared the common metals used in SLM.
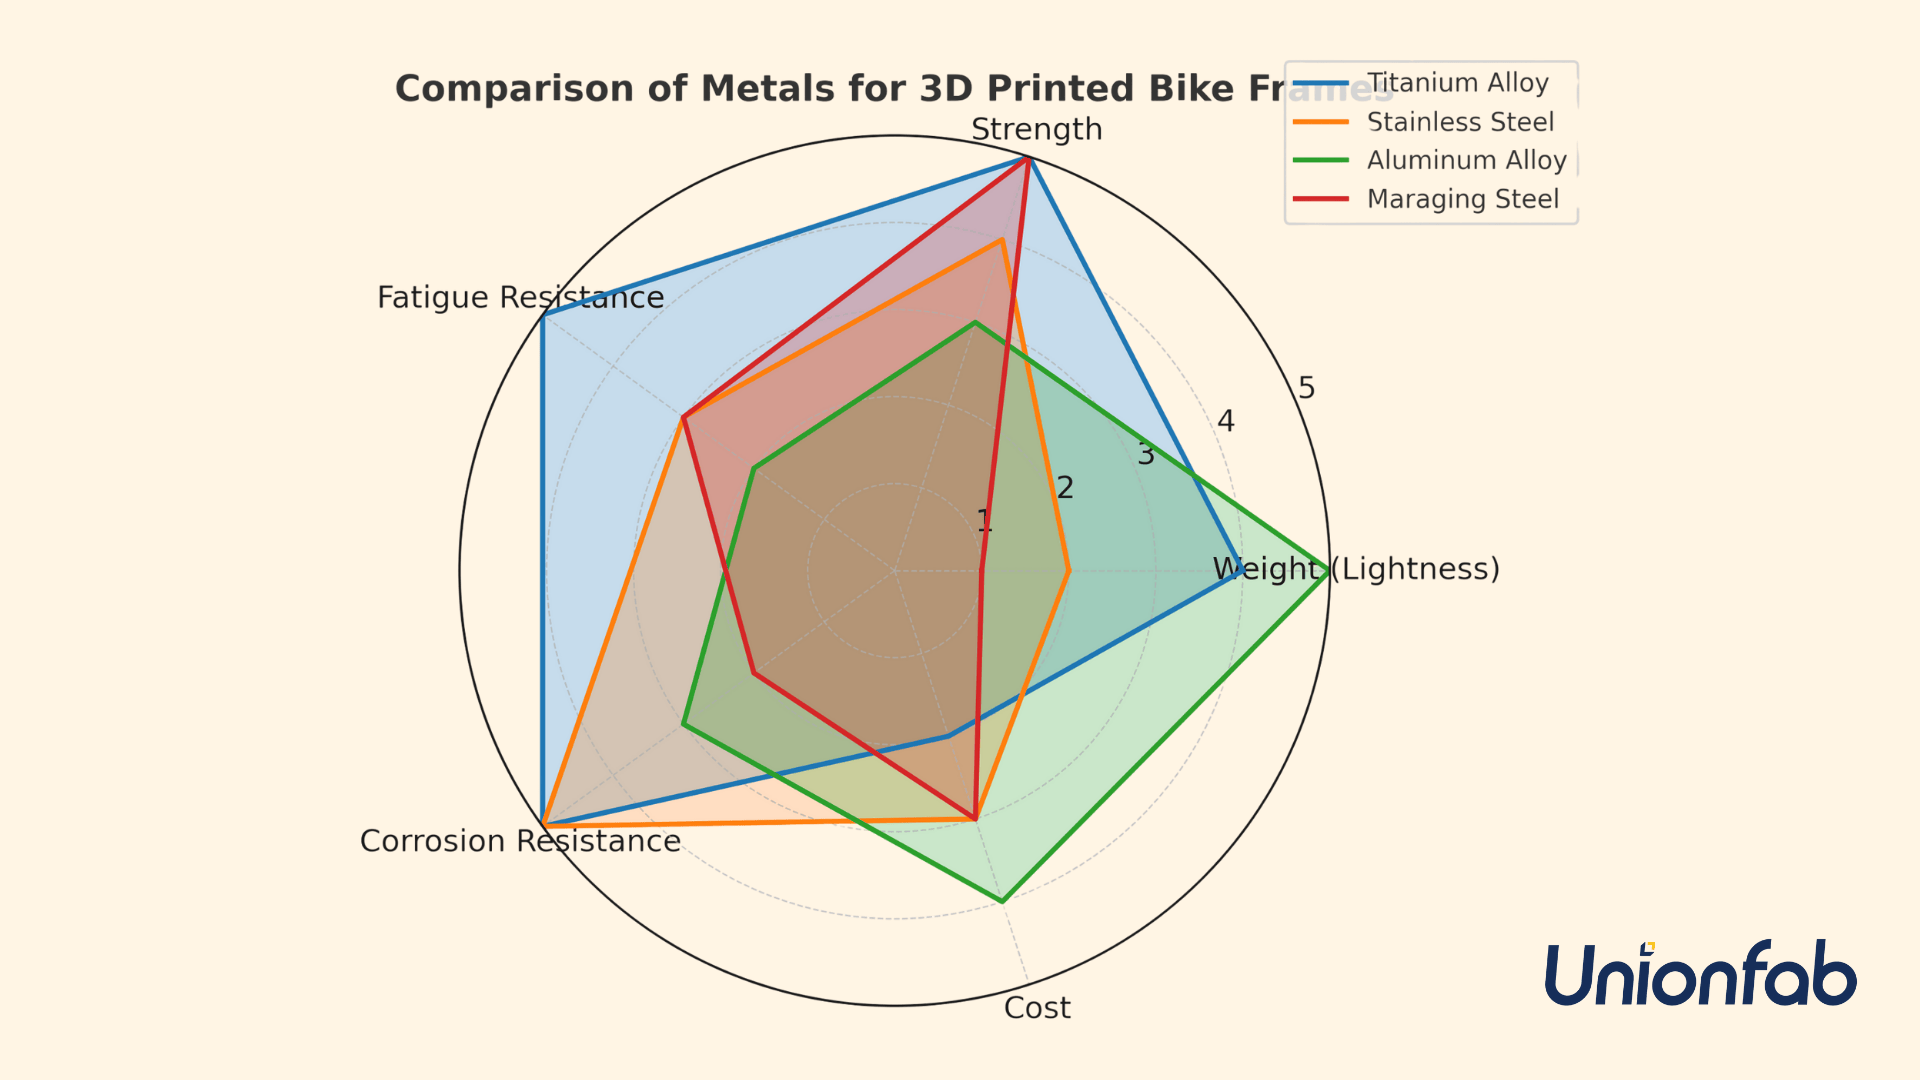
Titanium alloys → Currently the most suitable and mainstream choice for 3D-printed bike frames, widely adopted by premium brands such as Bastion and Atherton.
Stainless steel → More common in retro-style or experimental designs; durable but too heavy for lightweight performance needs.
Aluminum alloys → Technically feasible but limited by poor fatigue resistance; not yet mature for mainstream frame applications.
High-strength steels (Maraging steel) → Too heavy for full frames, better suited for small components or specialized applications. Support structures are incorporated during printing to prevent warping and distortion.
3. Post-Processing
Support Removal & Heat Treatment: Supports are removed, and the parts undergo hot isostatic pressing (HIP) or annealing to relieve residual stress and enhance strength and toughness.
Precision Machining: CNC machining is performed at critical connection points (tube sockets, bearing seats, threads) to ensure accuracy.
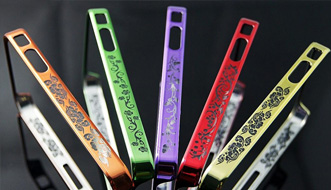
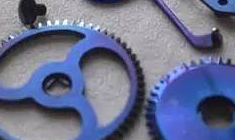
Surface Finishing: Sandblasting, shot-peening, or anodizing improves surface smoothness and corrosion resistance.
4. Tube Preparation
● Two main categories of tubes are used:
Carbon Fiber Tubes – lightweight and stiff, produced via pultrusion or rolling.
Metal Tubes (Aluminum, Steel, Titanium) – prepared through cutting and forming.
● Tubes are cut to design specifications, and the ends are chamfered or polished for precise fitting.
5. Joint-to-Tube Assembly
● Two primary joining methods are used:
○ Structural Adhesive Bonding
High-performance epoxy adhesives are applied between the joint and tube.
Pressure and curing create a uniform, durable bond.
Advantage: avoids heat-affected zones and preserves material properties.
○ Mechanical Insertion / Interference Fit
Tubes are inserted into the printed joint sockets, relying on tight-fit tolerances or locking features.
Often combined with adhesives for improved reliability.
6. Surface Finishing and Protection
Final surface finishing may include polishing, painting, or anodizing.
Interfaces in hybrid carbon/metal structures often receive additional protective treatment to prevent galvanic corrosion.
7. Full Frame Assembly
Threaded inserts or bearing cups are installed in the bottom bracket, head tube, and other functional areas.
The completed frame undergoes dimensional accuracy checks and strength testing (fatigue and impact tests).
The process concludes with painting, curing, and integration into the full bicycle build.
For any confusion, talk to Unionfab experts for free and professional consultation.
Welded vs. Lugged vs. 3D-Printed Joints
In a bicycle frame, the joints are often the weakest points, where fatigue cracks and structural failures are most likely to occur.
The key difference between manufacturing methods lies in how these joints are handled.
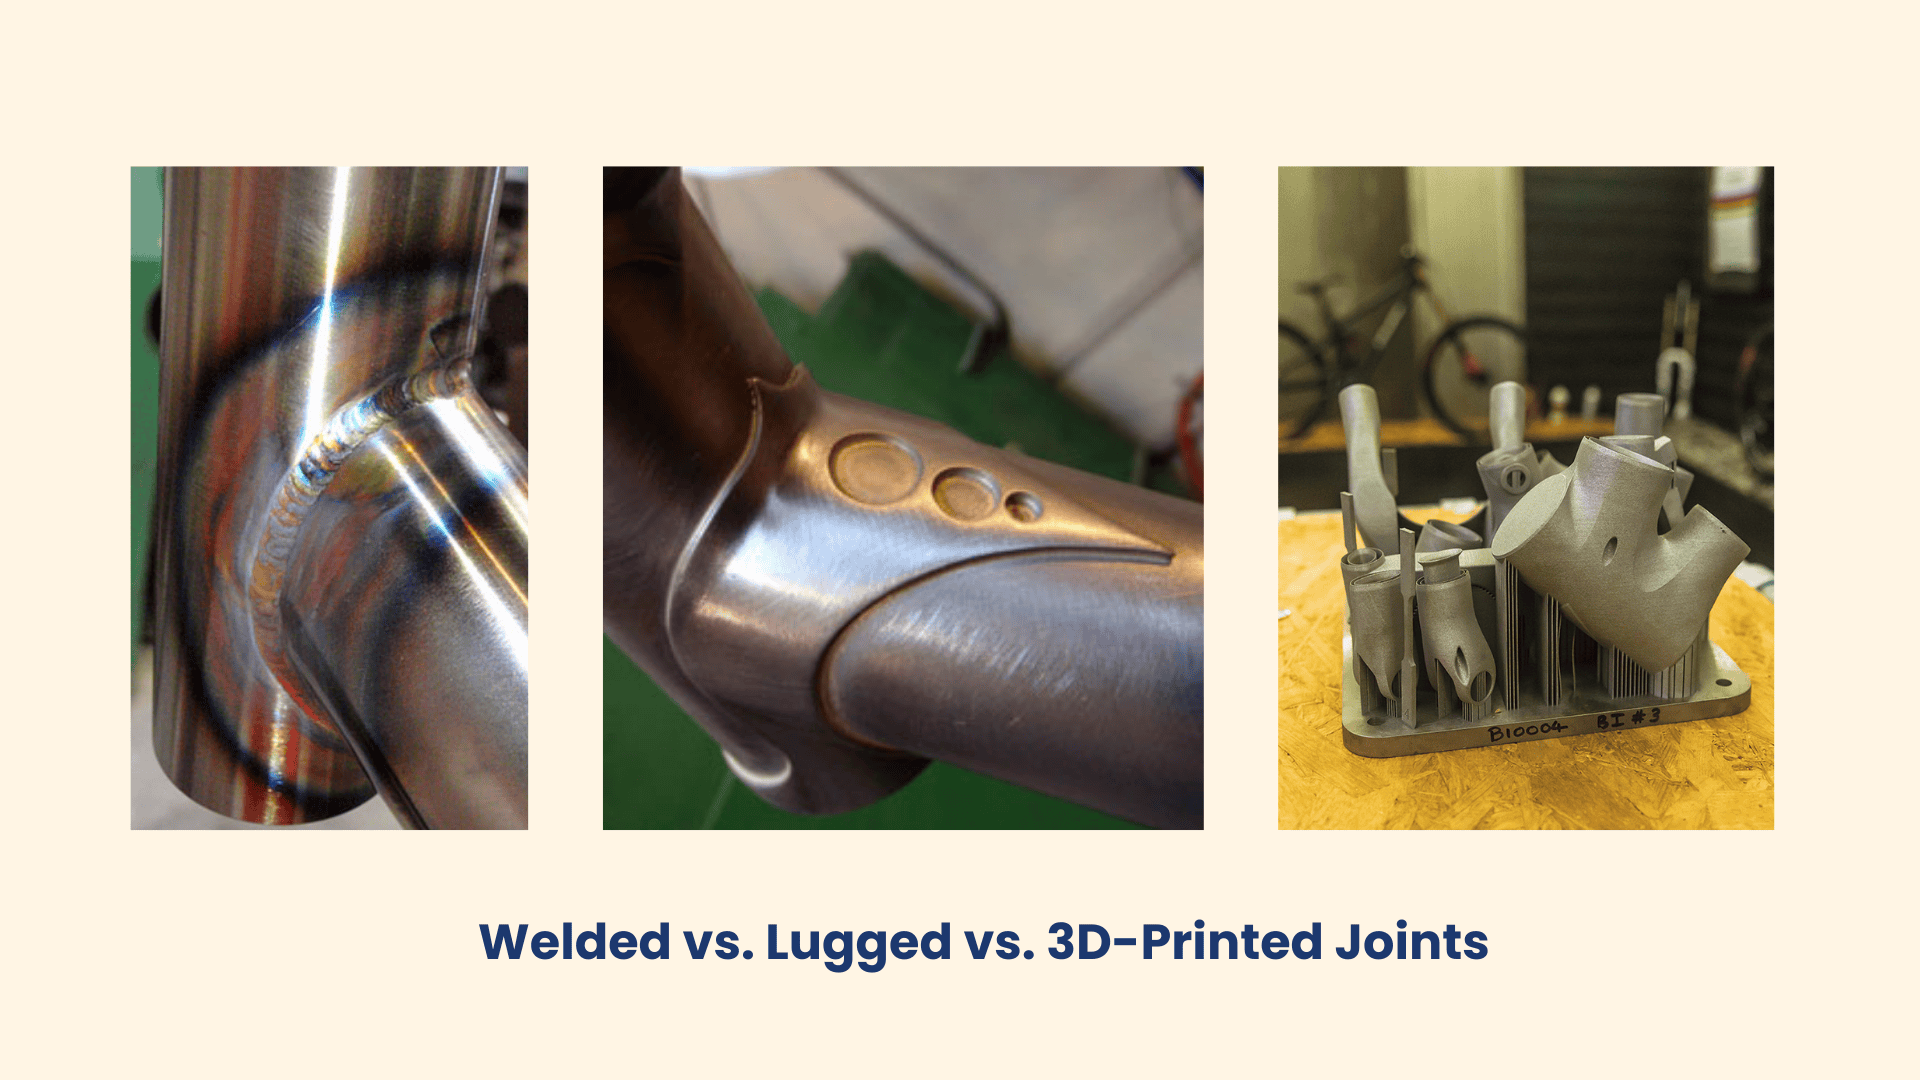
1. Welded
Process: Tubes are directly joined by TIG, MIG, or brazing.
Pros: Mature process, relatively low cost, suitable for mass production.
Cons: Weld seams weaken strength in the heat-affected zone; quality depends heavily on welder skill, making consistency difficult.
2. Lugged
Process: Tubes are inserted into pre-made lugs, then fixed with silver solder or brazing.
Pros: Gentler joining with smaller heat-affected zones; vintage aesthetic; easy to repair.
Cons: Limited geometry due to standard lug angles; adds extra weight; joint strength depends on brazing quality.
3. 3D-Printed Joints + Tubes (Adhesive / Mechanical Insertion)
Process: Key joints (head tube, bottom bracket, rear triangle nodes) are 3D-printed in metal with options for internal lattices or reinforcements. Carbon fiber or metal tubes are inserted and fixed with structural adhesive or interference fit.
● Pros:
No welding, eliminating heat-affected zones and seam fatigue.
Fully customizable geometry for rider-specific fit and stiffness.
Internal lattice structures allow weight reduction without losing strength.
Combining with carbon tubes creates lighter, stiffer, high-performance frames.
● Cons:
Demands strict bonding and surface preparation.
Higher cost, mainly used in premium custom frames.
Comparison Table
Feature | Welded | Lugged | 3D-Printed Joints + Tubes |
|---|---|---|---|
Heat-Affected Zone | Significant, weaker | Small, still present | None |
Design Freedom | Limited to tube shapes | Limited by lug angles | Fully customizable |
Weight | Medium | Heavier | Lightest, lattice-optimized |
Aesthetics | Modern, simple | Vintage, elegant | High-tech, personalized |
Consistency | Depends on welder | Fairly stable | Digital, highly consistent |
Typical Use | Mass production | Hand-built, retro | High-end custom, lightweight |
Conclusion
Welded: Best for mass production with cost efficiency, but durability suffers at weld seams.
Lugged: Ideal for retro and hand-built frames, valued for craftsmanship and aesthetics.
3D-Printed Joints + Tubes: Combines additive manufacturing with advanced materials, solving fatigue and geometry limitations—making it the preferred direction for high-end custom and next-generation frames.
Design Tips for Bike Frame 3D Printing
Beyond materials and processes, model design is the key factor that determines the final performance of a 3D-printed bike frame. Below are several design tips that can be optimized already at the modeling stage:
1. Joint Geometry
Smooth transitions: Use fillets or tapered shapes to avoid stress concentrations.
Gradual thickness: Apply wall thickness changes gradually to improve fatigue life.
Reinforcement: Add ribs or lattice in high-stress areas (e.g., bottom bracket, head tube).
2. Lattice / Internal Structures
Lightweight lattice: Use honeycomb or TPMS lattices inside joints for weight reduction with stiffness.
Tailored stiffness: Vary lattice density to control frame performance (e.g., stiffer bottom bracket, more compliant rear triangle).
3. Interfaces for Bonding
Insertion depth: Design tube sockets with enough depth (2–3× tube diameter).
Steps or grooves: Add small shoulders or grooves for precise alignment and to control adhesive flow.
Textured surface: Leave micro-textures to improve adhesive bonding.
4. Printability
Reduce overhangs: Avoid steep overhangs that require heavy supports.
Symmetry: Keep designs symmetrical to minimize thermal distortion.
Machining allowance: Reserve extra material at threads, bearing seats, and precision fits.
5. Post-Processing Friendly
Rounded corners: Replace sharp edges to ease cleaning and polishing.
Drainage holes: Add ≥1.5 mm holes in closed cavities for powder removal and cleaning.
In Summary:
The key is to use AM design freedom to the fullest:
External → smooth shapes and custom geometry
Internal → lattice and reinforcements
Interfaces → bonding-friendly details
Process → printing and finishing considered early
This approach leads to bike frames that are lighter, stronger, and easier to manufacture.
For personalized design advice, get free DFM feedback from Unionfab Experts.
Cost of Bike Frame 3D Printing
Formula Introduction
When evaluating the overall cost of 3D printing a bike frame component, the calculation can be expressed with the following formula: Total Cost = Printing Cost (material price × part weight) + Post-Processing Cost + Packaging Fees + Shipping Fees + Customs Duty
Printing Cost
Material Price: This refers to the raw material cost, typically calculated per gram.
Part Weight: Determined by the formula part volume × material density. The part volume can be directly obtained from CAD software.
Example Calculation
Material: Titanium Alloy (Ti-6Al-4V)
Example Price: $3.5 per gram
Example Weight: 1,000 g (calculated from CAD model volume × material density)
Printing Cost = $3.5 × 1,000 g = $3500
Our automated quoting system performs this calculation instantly once you upload your CAD model.
Note: The above price is for reference only. Please contact our sales team for an official quotation For bulk orders, special discounts can be discussed directly with our representatives.
Other Costs
Post-Processing Cost: We provide free default finishing (support removal and sandblasting). Additional paid options such as polishing, heat treatment, or electroplating are available, with costs calculated based on requirements.
Packaging Fees: Covers protective materials and handling to ensure safe delivery.
Shipping Fees: Vary depending on destination, shipping speed, and courier.
Customs Duty: Applicable for international shipments and subject to local regulations.
For readers who want a deeper dive into pricing, please see our full breakdown here: How Much Does It Cost to 3D Print Something?
Unionfab’s Metal 3D Printing Service
With 20+ years of expertise, 1,000+ industrial 3D printers, and 6 cutting-edge factories, Unionfab, certified with ISO 9001, ISO 13485, and AS 9001D, is committed to delivering high-quality, cost-effective 3D printing services.
The followings are the details of our SLM printing service.
SLM/DMLS | Binder Jetting | |
|---|---|---|
Equipment | BLT; SLM; EOS; EXONE | HP S100 |
Materials | Aluminum (Alsi10Mg) |
|
Max Part Size | 400 x 300 x 400mm | 420 x 420 x 450mm |
Layer Thickness | 0.035 mm | 0.035 mm |
Tolerance | ±0.2 mm | ±0.2 mm |
Min. Wall Thickness | 0.5 mm | 0.5 mm |
*Min. Reference Unit Price of Materials | Aluminum (Alsi10Mg): $0.6/g | Aluminum (Alsi10Mg) $0.6/g |
Pass Rate | 99.5% | 99.5% |
Lead Time | As fast as 4-5 days | As fast as 4-5 days |
On-time Delivery Rate | 98% | 98% |
Certification | ISO 9001, ISO 13485, and AS 9001D | ISO 9001, ISO 13485, and AS 9001D |
*The actual unit price is subject to real-time inquiry.
Post Processing
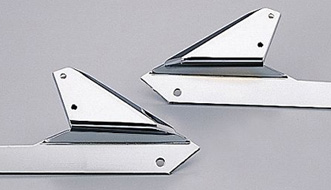
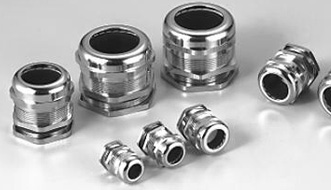
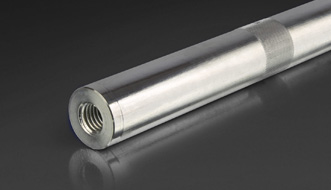
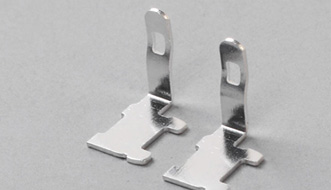
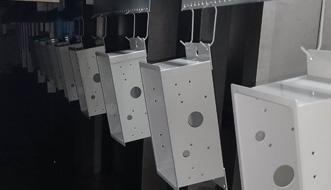
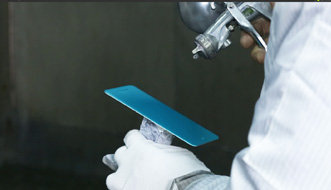
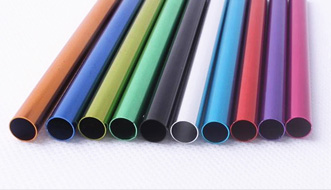
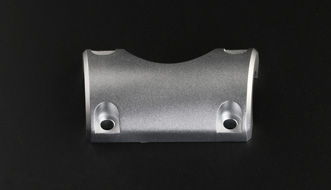
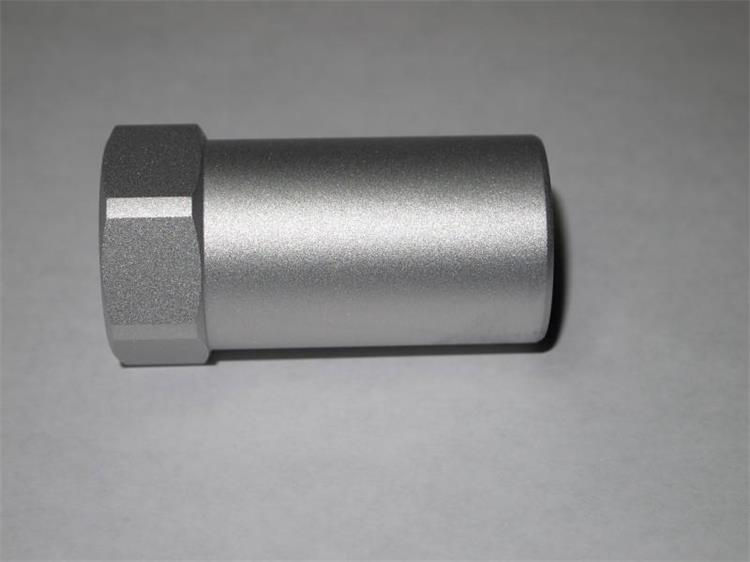
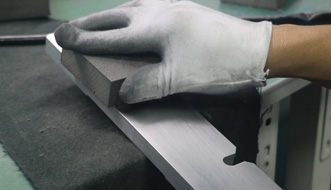
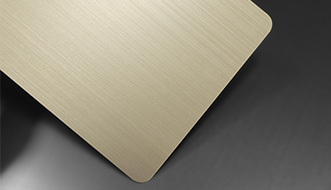
We not only provide high-precision printing but also a range of post-processing options below, including sandblasting, electroplating, and polishing etc., to improve surface quality, durability, and aesthetics of the prints, ensuring the perfect fit for various applications.
| 
| 
| 
| 
|
|---|---|---|---|---|
| 
| 
| 
| 
|
| 
| 
| 
| 
|
QA Report
In addition to delivering cost-effective prints, we also offer quality assurance services and can send the QA report with the shipment.
Btw, if you haven’t used Unionfab’s 3d printing service yet, sign up now to get a 10% discount on your first order!
FAQs
Is it cheaper to build your own bike?
Not usually. Buying parts separately and building your own bike often costs more than buying a complete bike, unless you already have spare parts or want a fully customized setup.
Can you build your own bike frame?
Yes. It is possible with welding skills, lug brazing, or 3D-printed lugs combined with tubes. However, it requires technical expertise, tools, and precision to ensure safety and durability.
Which frame is best for bikes?
It depends on the use:
Steel → durable and comfortable.
Aluminum → lightweight and affordable.
Carbon fiber → lightest and stiffest, good for racing.
Titanium → strong, corrosion-resistant, “lifetime” frame, but expensive.
How much does it cost to 3D print a bike frame?
3D printing a full bike frame or lugs is expensive compared to traditional methods. A titanium 3D-printed frame can cost $3,000–$6,000+, mainly due to material price, printing time, and post-processing. It is typically used for high-end custom or experimental frames rather than mass production.

